
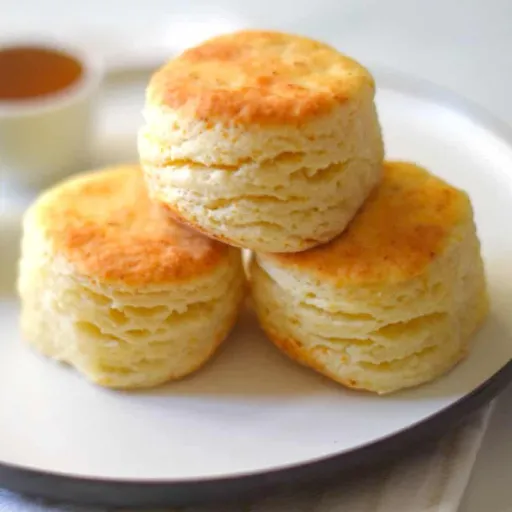
Quick Biscuit Recipe No Milk: Simple Dairy-Free Baking

Achieving a light, shatter-crisp biscuit doesn’t require a trip to the dairy aisle. By leveraging the chemistry of cold fats and acidic pantry staples like lemon juice or vinegar mixed with water, you can replicate the lift and tender crumb of traditional recipes. Whether you are managing an allergy or simply an empty refrigerator, these techniques ensure your dough rises predictably without sacrificing the structural integrity of a classic bake.
The Science of Texture Without Dairy
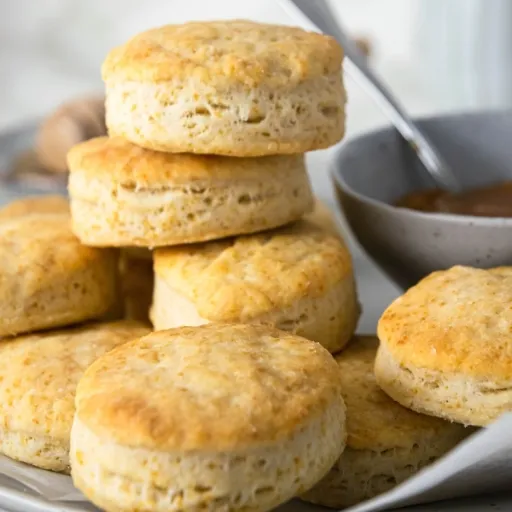
Traditional biscuits rely on milk proteins and sugars to assist in the Maillard reaction, but the actual “lift” is a matter of pure physics. When moisture in the dough hits a 425°F oven, it transitions into steam, forcing the flour layers apart. Without dairy, the challenge lies in replicating the structural support usually provided by casein. Replacing milk with acidic water or plant-based alternatives requires a careful balance to ensure the starch granules swell correctly without becoming gummy. Industry observations suggest that professional bakers often prioritize the hydration rate—typically aiming for a specific consistency rather than a rigid volume—to compensate for the lack of lactose-driven browning. It is this mechanical expansion, rather than the ingredient source, that dictates the final crumb.
Essential Pantry Substitutes
You don’t need specialty vegan products to bypass dairy; most successful “no milk” batches rely on what is already in the door of the refrigerator. Using plain water is the most direct route, though it produces a leaner, crispier crust that lacks the richness of a standard biscuit. To fix this, many home bakers add a teaspoon of lemon juice or white vinegar to their liquid. This mimics the acidity of buttermilk, which reacts with baking soda to create a more aggressive rise.
If the goal is a softer, more “commercial” texture, unsweetened almond or soy milk are reliable pivots because they contain trace fats and proteins. However, keep an eye on the sugar content. A common mistake is using “original” plant milks that contain 5g to 9g of added sugar, which can cause the bottom of the biscuits to scorch before the centers are fully set. For a richer mouthfeel, some even reach for full-fat canned coconut milk—a trick often used in high-volume kitchens to provide a heavy hit of saturated fat that keeps the interior tender for hours after baking.
Water vs. Plant-Based Liquids
Water provides the cleanest flavor profile but offers zero fat, resulting in a biscuit that feels more like a rustic cracker if the dough is over-handled. In contrast, oat milk or soy milk provide a buffering effect. The proteins in these liquids coat the flour’s gluten-forming proteins, subtly slowing down the toughening process. If you choose water, the window for a perfect bake is narrower. You might find that a water-based dough requires roughly 10% less liquid by volume because it lacks the solids found in milk.
The Role of Fats in Achieving a Flaky Crumb
The secret to those distinct, pull-apart layers isn’t the liquid—it’s the “rubbing in” of the fat. Whether using lard, shortening, or a high-quality plant-based butter, the fat must remain in solid, pea-sized chunks. In a hot oven, these pockets of fat melt, leaving behind a void that the steam then expands. This is why temperature is more critical than the specific fat chosen. If the fat reaches 70°F before the tray hits the oven, it soaks into the flour instead of staying separate. This creates a crumbly, shortbread-like texture rather than the tall, laminated flakes desired in a premium biscuit.
5 Common Mistakes That Lead to Dense Biscuits
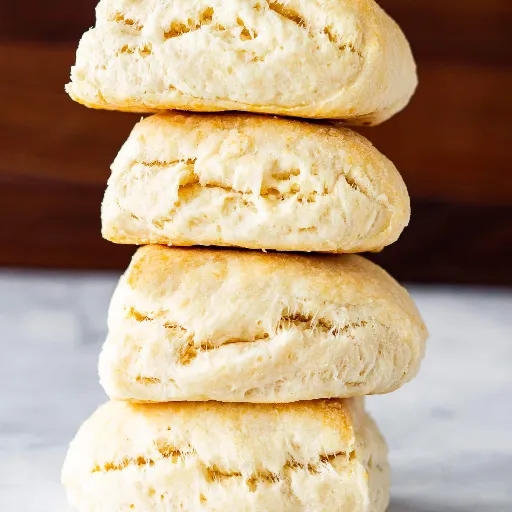
A biscuit that refuses to rise is rarely the fault of the recipe itself; usually, it’s a casualty of physics. When you remove milk—and its specific balance of sugars and proteins—the dough becomes less forgiving. Even a slight mechanical error can turn a potential cloud into a brick.
One of the most frequent culprits is over-handling the dough. In a rush to make it look uniform, many people knead the mixture until the gluten bonds tighten like a drumhead. If you’ve reached the point where the dough feels elastic or “springy,” you’ve already lost the flakiness. Industry observations suggest that high-output kitchens often use a “shaggy mass” approach, stopping the mix while dry streaks of flour are still visible.
Another silent killer is the twisting motion during cutting. It seems natural to twist a circular cutter to release the dough, but this effectively “cauterizes” the edges of your biscuit. By sealing those layers shut, you prevent the steam from expanding them upward. Instead of a 2-inch lift, you get a stunted, compressed puck.
Temperature also plays a non-negotiable role. If your fat—be it lard or a plant-based substitute—warms up to 68°F before it hits the oven, it melts into the flour rather than creating the steam pockets necessary for aeration. Finally, don’t ignore the leavening age. Baking powder loses its chemical “zip” faster than most realize; if yours has been open for more than 6 months, those biscuits likely won’t have the strength to fight gravity.
How Does Oven Temperature Affect Rise in Dairy-Free Dough?
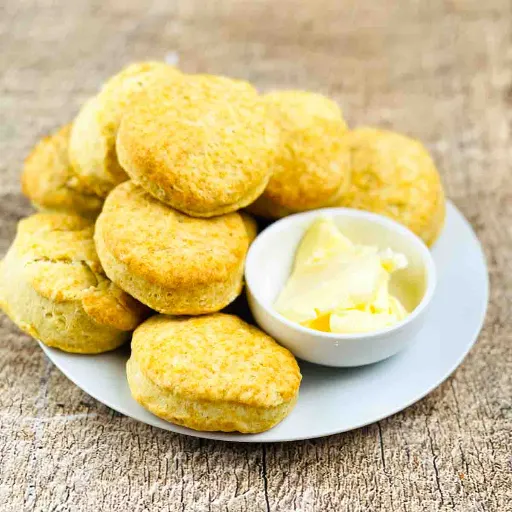
The oven isn’t just a heat source; for a milk-free biscuit, it is the primary engine of structural development. Without the lactose and milk solids that normally aid in browning and protein setting, you are almost entirely reliant on the rapid expansion of water vapor.
If your oven is set too low—say, 350°F—the solid fats in the dough will simply melt and soak into the flour before the internal moisture can turn into steam. The result is a heavy, greasy disk. To get that signature “pop,” you need a thermal shock. Industry experts often suggest preheating to 435°F or even 450°F to ensure the exterior sets immediately while the interior steam forces the layers upward.
In a high-heat scenario, the water content (whether from plain water or a plant-based substitute) flashes into steam within the first 180 seconds of baking. This creates the “honeycomb” internal structure before the gluten network hardens. Because dairy-free doughs often lack the quick-browning sugars of cow’s milk, you might be tempted to leave them in longer to get more color. Resist this. Over-baking at these high temperatures will dry out the crumb entirely; instead, trust the thermometer and the height of the rise rather than just the golden hue of the crust.
Mastering the Mix
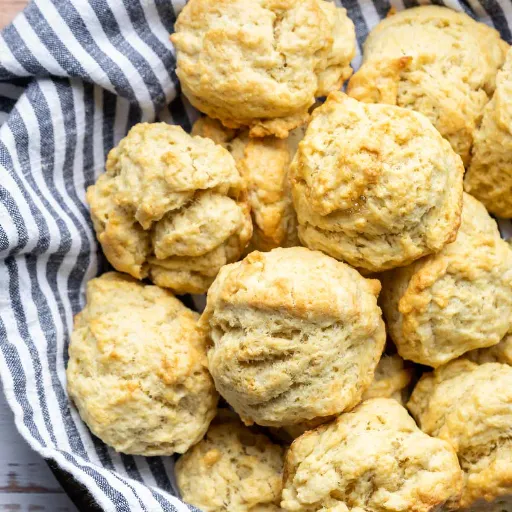
When you remove milk, you lose a significant amount of natural emulsifiers. This makes the mixing stage a delicate balancing act of hydration and aeration. The goal isn’t a unified, smooth dough; it is a loosely held-together mass of flour and fat. If the mixture looks too dry, resist the urge to drown it in liquid. A shaggy, somewhat messy bowl is exactly what leads to a tender interior. In high-volume production, the focus is often on “minimal shear”—essentially, the less you move the dough, the better the final product.
Proper Folding Techniques
Think of folding as a manual way to create layers without a rolling pin. Instead of kneading, turn the dough onto a floured surface and gently pat it into a rectangle. Fold it over itself like a letter, rotate 90 degrees, and repeat this process exactly 3 or 4 times. Each fold creates a physical barrier of air and fat. Over-folding, however, will toughen the gluten, turning a light biscuit into something resembling dense sandwich bread.
Why Cold Ingredients Are Non-Negotiable
Temperature is the invisible ingredient in any dairy-free bake. If your fat—whether it’s a plant-based stick or lard—reaches a soft 70°F, it begins to coat the flour particles entirely. This “shortens” the gluten but prevents any flakiness. You need the fat to remain as distinct, solid beads. When these beads hit a hot oven, they melt instantly, leaving behind a void that steam fills. Industry observation suggests that even chilling your dry flour to 40°F can make a measurable difference in the height of the final rise, particularly in warmer kitchen environments.
Cutting the Dough for Maximum Height
The way you exit the dough determines how high it can climb. Use a sharp, thin-walled metal cutter and push straight down. Never twist. Twisting smashes the delicate layers together at the edges, effectively welding them shut. If the edges are sealed, the steam cannot force the biscuit upward, resulting in a stunted rise. For a clean release, dip your cutter in dry flour between every single press.
Step-by-Step: The Quickest Route to Golden, Flaky Biscuits Without Using Milk
Efficiency in the kitchen often comes down to managing the temperature of your workspace. Before you touch any ingredients, preheat your oven to 435°F. This specific heat range ensures that the moisture in the dough turns to steam almost instantly upon contact. While the oven stabilizes, whisk together 250g of all-purpose flour, 1 tablespoon of baking powder, and a generous half-teaspoon of salt. Precision here matters; using a scale prevents the “dry-biscuit syndrome” caused by packed measuring cups.
Next, take 75g of very cold fat—lard or a high-quality plant-based stick works best—and cut it into the flour. You aren’t looking for a uniform paste. Aim for irregular chunks ranging from the size of a pea to a nickel. In a separate bowl, stir a teaspoon of lemon juice into 185ml of cold water or unsweetened almond milk. Pour this into your dry mix all at once.
Use a fork to pull the flour into the liquid until a shaggy, unrefined mass forms. It may look like a failure at this stage, but resist the urge to add more liquid. Turn it onto a floured surface and pat it into a rough 1-inch thick square. Fold it over on itself three times—this is the “lamination” that creates those pull-apart layers. Cut straight down with a sharp cutter, place them on a parchment-lined tray so they are just touching, and bake for 11 to 14 minutes. If the tops aren’t browning as deeply as you’d like, a quick brush of melted coconut oil in the last 2 minutes provides that final aesthetic touch without introducing dairy.
Enhancing the Flavor Profile
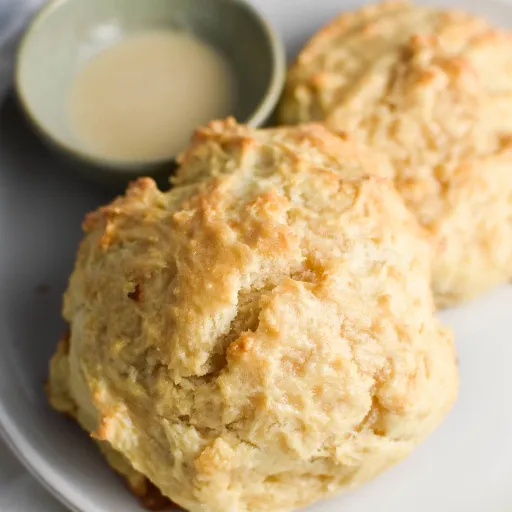
Since you are omitting the natural sugars and fats found in dairy, the base dough can sometimes lean toward a neutral, almost utilitarian taste. To counter this, flavor enhancement must be integrated early in the dry-mixing phase. It isn’t just about masking the lack of milk; it is about building a profile that stands on its own. Industry observations suggest that without the masking effect of lactose, secondary flavors like high-quality sea salt or nutty whole-grain flours (if used at a 15% to 20% ratio) become much more pronounced. You might also find that using a fat with a specific character, such as a cold-pressed coconut oil or a high-quality lard, provides a foundational depth that water-based doughs otherwise lack.
Savory Additions
For a robust, savory bite, consider folding in 45g of nutritional yeast or a tablespoon of cracked black pepper. Nutritional yeast provides a surprisingly “cheesy” umami depth that complements the acidity of lemon-water substitutes. Fresh herbs like rosemary or chives should be finely minced; large pieces may disrupt the gluten strands, leading to an uneven rise in the oven.
Sweet Variations
If the biscuits are destined for jam or fruit, a subtle increase in sugar helps. Adding 22g of coarse turbinado sugar to the dry mix creates a complex sweetness that pairs well with dairy-free fats. For a festive twist, a dash of ground cardamom or vanilla bean paste—whisked directly into the water—can elevate the aroma without altering the delicate hydration levels of the dough.
Industrial Insights: Scaling Traditional Recipes for Small Batch Commercial Production
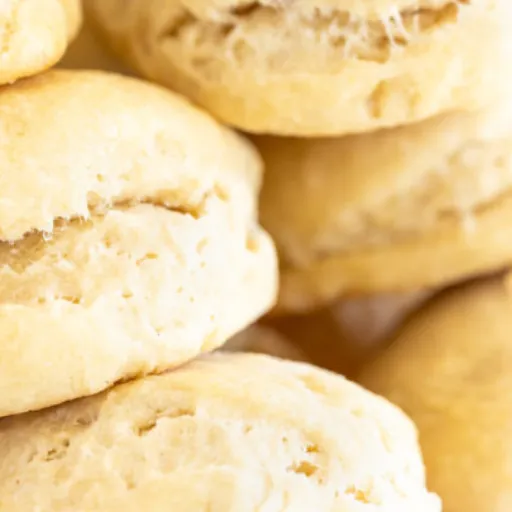
When transitioning from a countertop to a commercial kitchen, the “milk-free” variable introduces significant logistical hurdles. In a small-batch production setting—perhaps a boutique bakery or a specialized café—scaling up isn’t as simple as multiplying the ingredients by ten. Industry observations indicate that as volume increases, the friction generated by larger mixing equipment can raise dough temperature by 3°C to 5°C, potentially melting the discrete fat pockets before they even reach the oven.
To maintain a consistent 2.25-inch rise across 200 units, many operators utilize “delayed hydration” strategies. This involves keeping the dry flour-fat blend in a walk-in cooler at exactly 38°F until the moment of service, only adding the water-acid substitute in small, manageable rounds. This prevents the bottom-of-the-bowl compression that often plagues larger batches. Furthermore, because dairy-free doughs lack the structural reinforcement of milk proteins, commercial bakers often rely on precision-calibrated convection settings. The goal is a high-velocity air heat that sets the exterior “skeleton” of the biscuit within the first 120 seconds, ensuring the steam is trapped effectively to create that sought-after internal lamination.
FAQ Section
Can I use olive oil instead of solid shortening or vegan butter?
While you can use olive oil, the texture will shift significantly. Solid fats are essential for creating the air pockets that result in a flaky biscuit. Because olive oil is liquid at room temperature, it coats the flour molecules too thoroughly, leading to a “short” crumb similar to a muffin or a savory scone rather than distinct, pull-apart layers. If you must use oil, freeze it until it reaches a slushy consistency to mimic the behavior of solid fat.
How do I get a golden brown top without a milk wash?
Achieving a deep gold color without lactose requires a different approach to the Maillard reaction. Brushing the tops with melted coconut oil or a light coating of melted vegan butter just before they go into the oven provides enough fat to crisp the surface. For an even richer color, a thin wash of maple syrup diluted with water can provide the necessary sugars for browning, though you should use this sparingly to avoid unwanted sweetness.
Why did my biscuits turn out flat and hard?
This is usually caused by over-working the dough or using expired leavening agents. If you knead the dough until it is smooth, you develop too much gluten, which traps the air and prevents the rise. Additionally, if your baking powder is older than six months, it may lack the chemical potency to lift the heavy flour. Always ensure your oven is fully preheated to at least 425°F; a “slow” oven melts the fat before the steam can do its work.
Can this dough be prepared in advance and frozen?
Yes, and many professional bakers actually prefer this. After cutting your biscuit rounds, place them on a tray and freeze them until solid before transferring them to a bag. You can bake them directly from the freezer—just add about 2–3 minutes to the total bake time. Freezing ensures the fat remains perfectly cold until the moment of heat shock, which often results in an even taller rise than fresh dough.
Is it possible to make these gluten-free as well?
You can swap the all-purpose flour for a high-quality 1:1 gluten-free baking blend that contains xanthan gum. However, gluten-free doughs tend to absorb more moisture, so you may need to increase the liquid by about 15ml to prevent the dough from becoming crumbly. Because there is no gluten to toughen, you actually have more freedom to mix the dough thoroughly, though keeping the fat cold remains just as critical for texture.
What is the best dairy-free substitute for a traditional buttermilk tang?
The most effective “hack” is creating a DIY soured liquid. Stir one tablespoon of lemon juice or white distilled vinegar into a cup of unsweetened soy or almond milk and let it sit for five minutes. The acid curdles the plant proteins, creating a thickened texture and a sharp flavor profile that mimics real buttermilk. This acidity is vital because it reacts with the baking soda in the recipe to produce the carbon dioxide needed for a superior lift.