
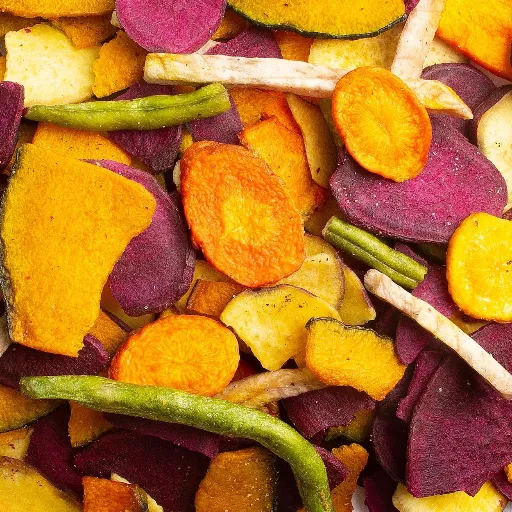
Master the Crunch: A Guide to Making Perfect Dehydrated Vegetable Chips at Home

Homemade dehydrated vegetable chips offer a superior, nutrient-dense alternative to store-bought varieties by removing moisture at low temperatures rather than deep-frying in oil. Achieving that professional-grade snap requires precise slicing and specific temperature control to avoid “case hardening,” where the outside dries before the inside. Whether you are using a dedicated dehydrator or a standard convection oven, mastering the pre-soak and airflow balance is the key to consistent, shelf-stable crispness.
Why Dehydration Beats Deep Frying for Nutrient Retention

The fundamental difference between a greasy bag of store-bought snacks and home-dried crisps is the thermal threshold. Deep frying subjects thinly sliced produce to oil temperatures exceeding 175°C, a violent environment that effectively “blasts” away heat-sensitive vitamins. In contrast, dehydrated vegetable chips are typically processed at much lower temperatures—usually between 45°C and 55°C. This gentle warmth pulls moisture out via evaporation rather than boiling it off in a vat of fat.
Industry observation suggests that water-soluble nutrients, particularly Vitamin C and various B vitamins, are the first casualties of high-heat frying. A practical example can be seen in the humble bell pepper chip; while frying destroys nearly all its antioxidant capacity, low-temperature dehydration preserves the majority of its carotenoids.
Consider a realistic scenario where you are prepping snacks for a long hike. A fried chip provides calories through absorbed oil, but a dehydrated slice offers the concentrated mineral profile of the original vegetable. Because the structure isn’t being broken down by extreme heat, the dietary fiber remains intact, often resulting in a snack that keeps you full longer. While dehydration isn’t a perfect “pause button” for nutrition—some loss is inevitable over long drying cycles—it remains the most effective way to lock in the bioactive compounds found in fresh garden harvests.
Essential Gear: Dehydrators vs. Conventional Ovens vs. Air Fryers
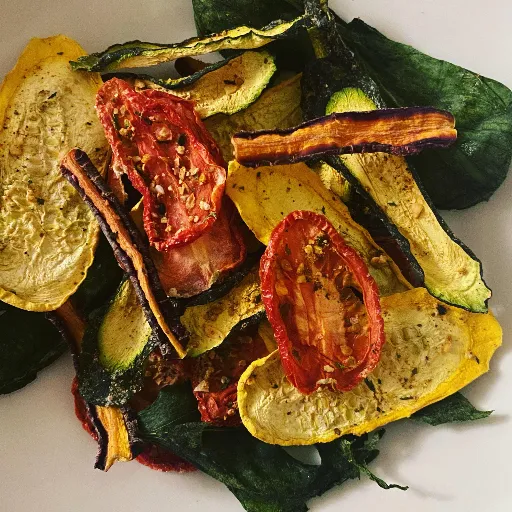
Choosing your heating element is the most significant variable in the outcome of dehydrated vegetable chips. While many assume a high-end appliance is mandatory, the choice really boils down to how much control you want over the moisture extraction rate. A dedicated dehydrator is built for endurance, often running for 10 to 14 hours at a whisper-quiet volume. Air fryers, by contrast, are the “sprinters” of the group; they use high-velocity fans to mimic dehydration in a fraction of the time, though they risk scorching the delicate edges of leafy greens like kale or spinach.
Industry observation suggests that the biggest hurdle for home cooks isn’t the heat itself, but the lack of consistent airflow. Without movement, the air surrounding the vegetables becomes saturated with steam, stalling the drying process entirely.
The Precision of Vertical vs. Horizontal Airflow Dehydrators
If you’re serious about a dedicated machine, the fan placement determines your success. Vertical flow models—the stackable, round units—place the heat source at the bottom. While affordable, they often require you to rotate trays every few hours to prevent the bottom layer from overcooking while the top remains soggy.
Horizontal airflow units, often box-shaped with a rear-mounted fan, provide much more uniform results. A practical example is dehydrating high-moisture beets alongside starchy parsnips; in a horizontal unit, the flavors don’t mingle, and every chip dries at a nearly identical rate. Cautious enthusiasts usually find the investment in a rear-fan model pays off in the elimination of “hot spots” that can ruin a large batch.
Hacking Your Oven: Using Convection Settings for Crisp Results
You don’t necessarily need new counter space to start. Most modern ovens feature a convection setting that can be “hacked” for dehydration. The trick is maintaining a low enough temperature—ideally around 60°C to 75°C—which is often lower than the standard “Warm” setting.
In a realistic scenario, you might need to prop the oven door open with a wooden spoon to allow moisture to escape and prevent the internal temperature from climbing too high. This “cracked door” method ensures that you are actually drying the vegetables rather than roasting them. While less energy-efficient than a small appliance, it’s an excellent way to process a massive harvest of zucchini or sweet potatoes in a single afternoon.
Top 5 Vegetables for Beginners to Dehydrate This Weekend
If you are new to the world of shelf-stable snacks, your biggest hurdle isn’t the machine—it’s the sugar and water content of the produce. High-moisture vegetables can take upwards of 14 hours to dry, which often discourages first-timers. To build confidence, you should start with “forgiving” vegetables that have a low risk of fermenting or oxidizing during the long drying cycle.
Industry observation suggests that Kale is the undisputed entry point. Because of its massive surface area and low density, it transforms into a brittle chip in roughly 4 to 6 hours at 52°C. A practical example of a “fail-proof” choice is the Zucchini. When sliced to a consistent 3.2mm thickness, zucchini loses its water weight rapidly, leaving behind a neutral canvas for any seasoning blend.
Sweet Potatoes and Carrots are excellent secondary projects, though they require a bit more patience due to their starch density. In a realistic scenario, these root vegetables might appear done on the outside but remain “leathery” in the center if pulled too early. Cautious phrasing is necessary here: they tends to crisp up further as they cool, but they must be snap-dry before storage. Finally, Beets offer a stunning visual result, though their high natural sugar content means you must keep temperatures below 57°C to prevent them from tasting burnt or “earthy” in an unpleasant way.
Pre-Processing: The Invisible Step to Professional-Grade Chips
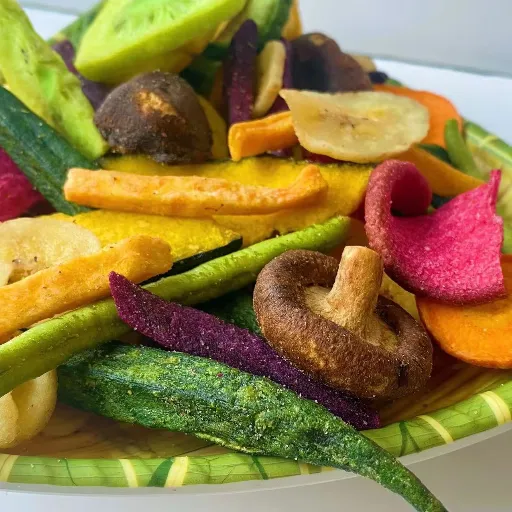
The success of your snack is determined long before you hit the “start” button on your machine. Most beginners assume that the dehydrator does all the work, but the reality is that the appliance only removes what you’ve prepared. If the cellular structure of the vegetable isn’t primed for moisture release, you’ll end up with a tray of uneven, tough discs rather than crisp, melt-in-the-mouth chips. Professional results rely on a series of small, chemical and mechanical interventions that ensure water exits the fiber at a steady, predictable rate.
Why Uniform Slicing with a Mandoline is Non-Negotiable
Hand-cutting with a chef’s knife is the quickest way to ruin a batch. Even a variance of half a millimeter between slices means one chip will be charred while its neighbor is still damp. Industry observation suggests that 3mm is the “sweet spot” for most root vegetables.
A mandoline ensures that every single piece has the exact same surface-area-to-mass ratio. This uniformity allows the dehydrator to work efficiently, as the airflow can penetrate each slice equally. Using a guard is essential—those blades are unforgiving—but the precision they provide is what separates a hobbyist snack from a gourmet-level vegetable chip.
To Blanch or Not to Blanch? Breaking Down the Enzyme Question
Blanching—briefly submerging vegetables in boiling water followed by an ice bath—isn’t just about color; it’s about “killing” the enzymes that cause spoilage and browning. For starchy vegetables like potatoes, carrots, and parsnips, this step is vital.
Without a quick 2-minute blanch, the starches don’t gelatinize, and the resulting chip often feels like chewing on flavored wood. A practical example is the sweet potato: unblanched slices often turn a dull, unappetizing grey-brown during the 10-hour drying cycle. Cautious phrasing is often used here, as some leafy greens like kale should never be blanched, but for dense roots, it is the only way to lock in that vibrant, natural orange or purple hue.
Managing Moisture: The Role of Salt and Acid Pre-Soaks
For high-moisture produce like zucchini or cucumbers, you need to “sweat” the slices before they enter the tray. Dusting them with a small amount of sea salt draws out excess surface water through osmosis.
Alternatively, a light soak in a 5% citric acid or lemon water solution prevents oxidation in apples or tubers. This pre-treatment significantly reduces your total active drying time, often by 90 to 120 minutes. By removing that initial “easy” water manually, the dehydrator can focus its energy on the more stubborn moisture trapped deep within the plant’s cell walls.
3 Common Slicing Mistakes That Lead to Leathery Centers
- The “Tapered” Cut: This happens when you apply uneven pressure on the mandoline. One side of the chip is paper-thin and burns, while the thicker side retains a gummy, leathery core that will eventually mold in storage.
- Ignoring the Grain: Slicing fibrous vegetables like celery root or large carrots at a steep diagonal can lead to curling. While they look artistic, the curled edges shield the center from airflow, trapping moisture.
- Overcrowding the Blade: Trying to slice through a vegetable too fast causes “shuttering,” leaving ridges on the surface. These microscopic hills and valleys create an uneven drying plane. In a realistic scenario, taking an extra 60 seconds to slice slowly results in a perfectly flat chip that crisps up in nearly half the time.
Creative Seasoning Strategies: When to Flavor for Maximum Adhesion
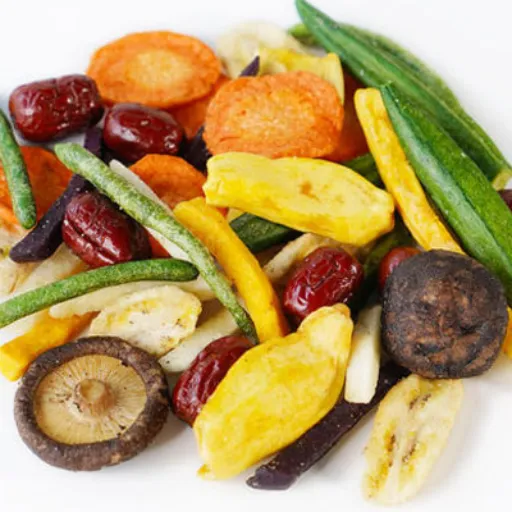
The biggest frustration with DIY vegetable chips isn’t the crunch; it’s the seasoning sitting at the bottom of the bowl instead of on the chip. Most home cooks wait until the drying cycle is finished to add salt, but by then, the surface is a hard, impenetrable shield. For spices to actually stick, they must be applied while the vegetable is in its “tacky” state—the window where surface moisture acts as a natural adhesive.
Industry observation suggests that a “dusting” approach works best when the moisture content is still around 15% to 20%. If you season too early, the salt draws out too much water, causing the chips to steam rather than dry. A realistic scenario involves checking your trays mid-way through; when the slices are flexible but no longer wet to the touch, that is your moment.
The Wet-Dry Rub Technique for Kale and Root Veggies
Kale requires a different mechanical approach than a solid beet slice. Because of its crinkled surface, a simple sprinkle won’t cut it. A practical example of the wet-dry method is massaging a teaspoon of avocado oil and lemon juice into the leaves before adding dry nutritional yeast or garlic powder.
This creates a slurry that coats every vein of the leaf. For root vegetables like sweet potatoes, avoid heavy oils. Instead, a light mist of apple cider vinegar provides just enough “grip” for cinnamon or sea salt. Cautious phrasing is key here: less is usually more. As the vegetable shrinks to nearly 1/8th of its original size, the flavor of your spices will intensify significantly, turning a light dusting into a bold punch.
Solving the “Soggy Chip” Crisis: Proper Cooling and Storage Logistics
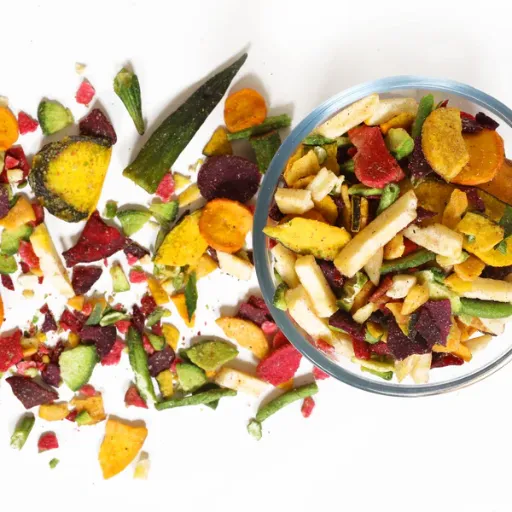
The most heartbreaking moment for a home dehydrator is watching a perfectly crisp batch of dehydrated vegetable chips turn limp within minutes of leaving the machine. This “soggy chip” crisis is almost always caused by residual steam. When hot chips are bagged immediately, the remaining internal warmth creates a localized humidity spike inside the container. Industry observation suggests that even a 2% increase in relative humidity within a storage vessel can destroy the structural integrity of a starch-based chip.
A realistic scenario involves the “cool-down test.” You must let the chips rest on a cooling rack for at least 15 to 20 minutes. If they are still pliable after this rest, they aren’t dry; they need to go back into the heat. Cautious enthusiasts often wait until the chips reach an ambient room temperature of roughly 21°C before even considering a storage jar.
The Glass Jar Vacuum Seal Method for Long-Term Crispness
Plastic bags are surprisingly porous, allowing microscopic amounts of moisture to seep in over weeks. Glass is the superior barrier. A practical example of professional-grade storage is using a wide-mouth Mason jar equipped with a handheld vacuum sealer.
By removing the oxygen and moisture-laden air from the headspace of the jar, you create an environment where the chips cannot reabsorb humidity. This method tends to extend the shelf life from a mere few days to several months. Without the presence of air, the natural oils in vegetables like carrots or beets also resist rancidity, keeping the flavor as sharp as the day they were dried.
Why Silica Gel Packets are a DIY Snacker’s Best Friend
If you find yourself opening and closing your storage containers frequently, you are introducing fresh humidity with every snack break. Food-grade silica gel packets act as an insurance policy. These small desiccant bags are designed to aggressively pull moisture from the air before your chips can.
While they won’t fix a poorly dried batch, placing one 5-gram packet in a quart-sized jar can be the difference between a satisfying snap and a leathery disappointment by day four. Just ensure they are clearly labeled “food safe” to avoid any chemical cross-contamination with your produce.
FAQ Section
Q: How do I know when the vegetable chips are actually done?
Visual cues can be deceiving because heat makes fibers more pliable. To test for “doneness,” remove a few sample chips and let them sit at room temperature for about three minutes. Once cooled, they should snap cleanly when bent. If they feel leathery, gummy, or bend without breaking, they still harbor internal moisture and require more time in the dehydrator. For high-sugar vegetables like beets, the chips should feel brittle and papery rather than sticky.
Q: Can I dehydrate frozen vegetables into chips?
Yes, but the results vary by vegetable type. Frozen corn, peas, and sliced carrots actually dehydrate faster because the freezing process breaks down cell walls, allowing moisture to escape easily. However, you cannot easily slice frozen whole vegetables into uniform chips. For the best results, partially thaw them just enough to slice with a mandoline, or use pre-sliced frozen varieties. Keep in mind that frozen vegetables are often blanched before packing, which can save you a preparation step.
Q: Do I need to peel vegetables before dehydrating them?
Peeling is largely a matter of personal preference and vegetable type. For organic carrots, zucchini, and cucumbers, the skin is thin and contains significant nutrients, so leaving it on adds color and fiber. However, root vegetables like celery root or older, thick-skinned beets can have a bitter or “earthy” exterior that becomes unpleasant when concentrated through drying. If you choose to leave the skins on, ensure you scrub the produce thoroughly with a brush to remove all soil and debris.
Q: Why did my sweet potato chips turn brown instead of orange?
Browning is usually caused by enzymatic oxidation or “case hardening” from high temperatures. If the dehydrator is set above 65°C, the natural sugars in sweet potatoes begin to caramelize and scorch before the moisture can evaporate. To maintain a vibrant orange hue, always blanch your slices in boiling water for two minutes before drying. This deactivates the enzymes responsible for browning and ensures the starch structure remains stable and bright throughout the long drying cycle.
Q: What is the best way to re-crisp chips that have gone soft?
If your chips have absorbed humidity, you can easily rescue them by placing them back in the dehydrator at 55°C for 30 to 60 minutes. If you don’t want to restart the machine, a conventional oven set to its lowest temperature (around 75°C) works quickly. Spread them in a single layer on a wire rack to allow airflow around all sides. Watch them closely, as they can burn in minutes in an oven, and always let them cool completely to reach maximum crispness.