

Precision Confectionery: The Science of Achieving Hard-Crack Caramel

To make caramel hard, you must drive out nearly all moisture by heating the sugar syrup to the “hard-crack” stage, specifically between 300°F and 310°F. At this precise thermal threshold, the water content drops below 1%, allowing the molecules to bond into a brittle, glass-like structure upon cooling. Success depends on bypassing the chewy “ball” stages entirely to ensure the cooled confection snaps cleanly rather than sticking to teeth.
The Temperature Threshold: Why 300°F is the Magic Number
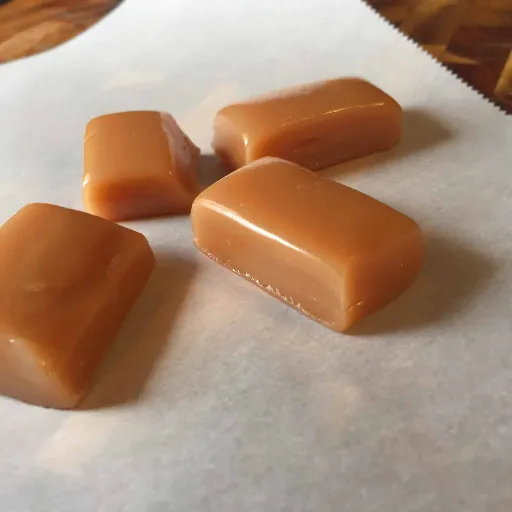
Making caramel hard isn’t about how long you stir, but how much water you evaporate. As the sugar solution boils, the temperature stalls while the water transitions into steam. Once that moisture is gone, the temperature climbs rapidly. Industry observations suggest that the difference between a gooey caramel sauce and a glass-like brittle is a matter of mere minutes.
To achieve a snap, you must push the mixture to at least 300°F. At this specific point, the sugar concentration reaches roughly 99%. Anything less, even 285°F, leaves enough residual moisture for the molecules to slide past each other, resulting in a bendy, taffy-like texture. If you’ve ever tried to make a traditional croquembouche only to have the sugar “weep” and collapse, you likely pulled the pot off the heat just 5 or 10 degrees too early.
Understanding the Hard-Crack stage vs. Soft-Ball
Sugar undergoes a dramatic structural metamorphosis between 235°F and 310°F. At the “Soft-Ball” stage (around 237°F), the syrup contains about 20% water. If you drop a spoonful into cold water, it forms a pliable ball that flattens when squeezed. This is perfect for fudge, but disastrous for hard candy.
By contrast, reaching the “Hard-Crack” stage at 300°F-310°F essentially locks the carbon, hydrogen, and oxygen atoms into a rigid, non-crystalline matrix. A realistic scenario for testing this without a digital probe is the “snap test”: a drop of syrup in ice water should instantly form brittle threads that break cleanly when bent. If the threads feel slightly flexible or sticky, the moisture content is still too high to guarantee a permanent, hard set.
Essential Gear for Sugar Work
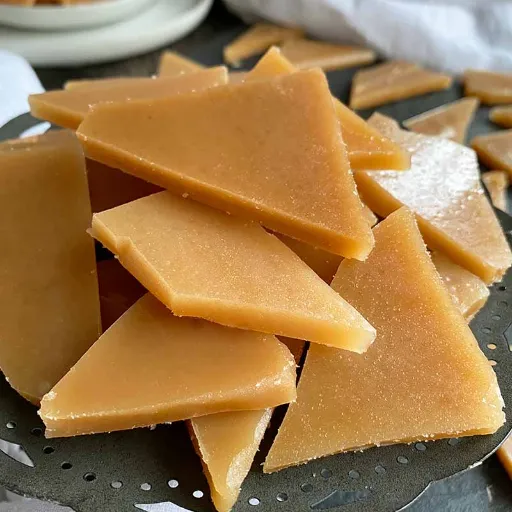
Success in sugar work is often a battle against thermal inertia. You need a heavy-bottomed stainless steel or copper pot; thin aluminum pans distribute heat too unevenly, creating “hot spots” that scorch the syrup before the bulk reaches 300°F. A high-precision digital candy thermometer is non-negotiable for beginners. While old-school chefs might rely on the cold-water “crack” test, a probe provides real-time data, which is vital since the temperature can jump from 280°F to a burnt 325°F in under 45 seconds.
Industry observations suggest that silicone mats are superior to parchment paper for cooling. A realistic scenario involves pouring molten caramel onto a mat; the silicone’s heat resistance ensures the candy releases cleanly without sticking or tearing. Finally, keep a pastry brush and a small bowl of water nearby. Dipping the brush and washing down the sides of the pot prevents stray sugar crystals from falling back into the mix, which may trigger a chain reaction of graininess.
Step-by-Step: From Granulated Sugar to Glass-Like Shards
Transforming white crystals into a rigid, amber pane is a lesson in patience and thermal control. You begin with a high-heat source, but the real work happens in the final sixty seconds. Once the sugar begins to liquefy, it enters a state of rapid molecular transition. Industry observations show that the color of the syrup—moving from a pale straw to a deep penny-copper—is the most reliable visual indicator of the complex flavor development happening alongside the hardening.
A realistic scenario: you hit 292°F and think it looks dark enough, but pulling it now results in a “toffee” that sticks to your molars. You must hold your nerve until the digital readout flickers past 300°F. At this stage, the sugar is roughly 99.1% concentrated. Any lingering steam has evaporated, leaving behind a molten mass that will set into brittle, glass-like shards the moment it meets a cool surface.
The Wet Method vs. The Dry Method for Hard Caramel
Choosing your method often depends on your comfort with sugar’s temperamental nature. The “wet method” involves dissolving sugar in about 30% of its weight in water before boiling begins. This water acts as a thermal buffer, ensuring every granule melts before the browning starts, though it takes longer to evaporate the excess moisture.
Conversely, the “dry method” skips the water entirely, melting sugar directly in a hot pan. It is much faster but significantly riskier; a practical example is the bottom layer of sugar burning before the top layer has even softened. For a truly hard, consistent snap, many professionals prefer the wet method because it allows for a more controlled climb toward that critical 310°F mark without the high risk of premature scorching.
Shocking the Syrup: The Role of the Ice Bath
Sugar doesn’t stop cooking just because you turned off the burner. Residual heat in a heavy copper pot can easily carry the temperature another 8 or 12 degrees, turning a perfect hard-crack caramel into a bitter, blackened mess. To halt this “carry-over cooking,” you must shock the pot. Briefly dipping the bottom of the saucepan into a shallow ice-water bath for 3 or 4 seconds creates an immediate thermal brake. This step ensures the caramel stays at its peak amber hue and maintains the structural integrity required for a clean, brittle break once it is poured onto a silicone mat.
Factors That Prevent Caramel from Hardening Properly
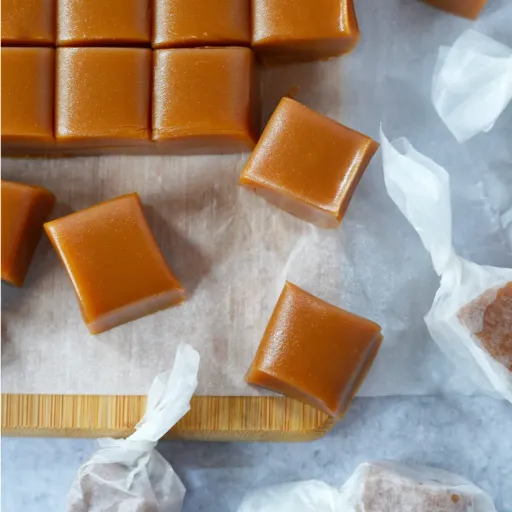
You can follow a recipe to the letter and still end up with a tacky, disappointing mess. Often, the failure isn’t a lack of heat, but an environmental or chemical interference that destabilizes the sugar’s transition into a solid. Industry observations suggest that sugar is highly “hygroscopic,” meaning it behaves like a sponge for any ambient moisture in your kitchen. If the internal chemistry is compromised by late-stage additions or high vapor pressure in the air, the molecules simply cannot lock into that desired glass-like state. Even a slight deviation in the cooling rate can encourage the sugar to remain amorphous and sticky rather than brittle. It is a fragile equilibrium where the smallest external variable might dictate whether you get a clean snap or a tooth-sticking chew.
Humidity: The invisible enemy of sugar
If the relative humidity in your kitchen exceeds 55%, making hard caramel becomes an uphill battle. Because sugar attracts water molecules from the air, the surface of your cooling caramel may begin to soften almost immediately. This is particularly frustrating in a realistic scenario where you’ve hit a perfect 305°F, yet the final product stays tacky to the touch. The sugar effectively re-hydrates itself before it can fully set. Professional confectioners often avoid sugar work on rainy days or utilize industrial dehumidifiers to ensure the atmosphere doesn’t undo the evaporation achieved during the boiling process.
The “Fat Factor”: How cream and butter change the crystalline structure
Adding lipids like heavy cream or butter fundamentally redefines the caramel’s DNA. While pure sugar and water reach a hard-crack stage, introducing fats interferes with the tight bonding of sucrose molecules. These fats act as lubricants, sitting between the sugar chains and preventing them from forming a rigid, brittle matrix. A practical example is the difference between a glass-like flan topping and a chewy soft caramel square. If your goal is a breakable shard, you must limit fats to a negligible amount—usually under 4% of the total weight—or avoid them entirely. Too much butter often results in a “short” texture that crumbles rather than snaps.
Why corn syrup acts as an insurance policy
Crystallization is the primary threat to a smooth, hard finish. If a single un-melted grain of sugar touches the side of the pot, it can trigger a chain reaction that turns your clear syrup into a grainy, opaque sludge. Corn syrup prevents this by acting as an “interfering agent.” It contains complex glucose chains that physically block sucrose molecules from knitting back together into crystals. Adding just a tablespoon or two (roughly 15 to 20 grams) provides a safety net, ensuring the caramel remains clear and sets with a consistent, glass-like transparency.
3 Warning Signs of an Impending Kitchen Disaster
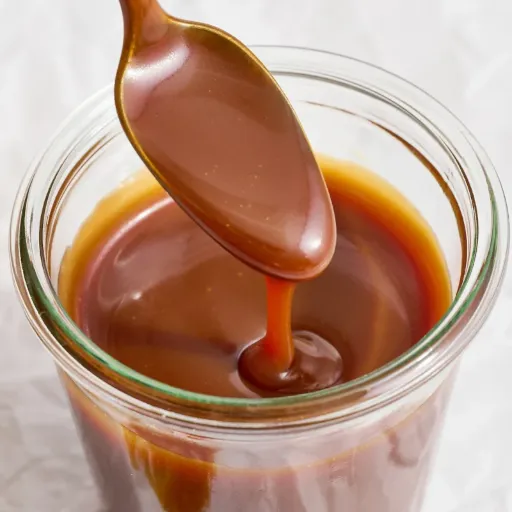
Sugar work is unforgiving; the transition from a perfect amber liquid to a ruined pot happens in a heartbeat. The first red flag is premature cloudiness. If your clear syrup suddenly turns opaque or gritty before hitting 240°F, crystallization has taken hold. This often happens because a stray grain of undissolved sugar fell from the rim.
Second, watch for wisps of acrid white smoke. While steam is normal, a sharp, burnt smell indicates the sugar at the bottom is scorching, likely because the heat is over 315°F in one localized spot. Industry observations suggest that once the smoke turns yellow, the bitter carbonization is irreversible. Finally, keep an eye on violent bubbling that refuses to settle. If the foam climbs more than 75% up the sides of the pot, your vessel is too small. In a realistic scenario, this lead to a dangerous boil-over that is nearly impossible to clean and can cause severe thermal burns.
Managing the Cooling Process for Brittle Textures

The moment the syrup hits the cooling surface, you are racing against thermodynamics. To ensure a clean snap, you need to maximize the surface area and minimize the insulation. Pouring the 300°F liquid in a thick, concentrated pool often leads to a center that remains semi-pliable for too long, losing that characteristic brittle edge.
A practical example is the use of a pre-chilled marble slab or a professional-grade silicone mat. These materials draw heat away rapidly. Industry observations suggest that the faster the temperature drops from 300°F to below 145°F, the less chance there is for the sugar to absorb ambient moisture. In a realistic scenario, moving the tray to a cool, dry area—away from a steaming stovetop—is essential. Let it set undisturbed; poking the cooling mass tends to introduce stress fractures that ruin the final aesthetic of the shards.
Proper Storage to Keep Caramel Brittle in Humid Climates
Hard caramel is a victim of its own chemistry. Because it is nearly 100% sugar with almost zero moisture, it will greedily pull water from the air the moment it is exposed. In regions where humidity frequently climbs toward 65% or 70%, a perfectly snapped shard can turn into a sticky, weeping puddle in less than four hours. To prevent this, you must create a total moisture barrier.
Industry observations suggest that parchment paper is often insufficient for long-term storage because it is breathable. Instead, try wrapping individual pieces in cellophane or food-grade wax paper. A realistic scenario involves placing these wrapped shards into an airtight glass jar alongside a food-safe desiccant pack. These small silica packets are a practical example of how to maintain a localized “dry zone” that protects the sugar’s crystalline integrity. Cautious cooks often store their containers in a dark, cool pantry rather than the refrigerator, as the temperature fluctuation upon opening the fridge can cause condensation to form directly on the candy’s surface.
FAQ Section
Q: Why did my caramel stay sticky even after it cooled completely?
A: Stickiness is almost always a symptom of undercooking. If your sugar syrup didn’t reach the “hard-crack” stage (300°F–310°F), too much residual water remains in the mixture. Even a few degrees shy of this mark prevents the molecules from locking into a rigid structure. Additionally, high kitchen humidity can cause the sugar to pull moisture from the air during the cooling phase, resulting in a tacky surface regardless of how well it was boiled.
Q: Can I re-boil a soft batch of caramel to make it harder?
A: Yes, you can rescue a soft batch by returning it to the pot with a small amount of water (about two tablespoons) to help it melt evenly. Heat the mixture slowly until it liquefies, then bring it back to a boil until it reaches the 300°F threshold. Be cautious, as the flavor will become more intense and the color darker during this second heating. Monitor it closely to avoid scorching the already-developed sugars.
Q: What is the difference between hard-crack caramel and toffee?
A: The distinction lies in the ingredient list rather than just the temperature. While both are cooked to the hard-crack stage, caramel is primarily a high-concentration sugar syrup. Toffee, however, contains a significant amount of butter—often a 1:1 ratio by weight with the sugar. This fat creates a more opaque, “shorter” snap that is less glass-like than pure caramel. If you want a clear, brittle transparency, stick to a basic sugar and water caramel.
Q: How does high altitude affect the boiling point of my sugar syrup?
A: At higher elevations, lower atmospheric pressure causes water to evaporate at lower temperatures. This means you must adjust your target temperature downward to avoid overcooking. A general rule is to subtract 1°F from your target temperature for every 500 feet you are above sea level. If you are at 5,000 feet, you should pull your “hard-crack” caramel at 290°F instead of the standard 300°F to achieve the same concentration.
Q: Is it possible to achieve a hard set using brown sugar instead of white?
A: You can, but it is technically more difficult. Brown sugar contains molasses, which introduces moisture and acid into the pot. These impurities can make the syrup foam aggressively and increase the risk of burning before you hit 300°F. If you use brown sugar, you’ll get a much deeper, more complex flavor, but you must be extra vigilant with your thermometer to ensure the high molasses content doesn’t mask a temperature that is actually too low for a hard set.
Q: Why does my hard caramel turn grainy after a few days?
A: Graininess is a sign of “recrystallization.” This happens when the sugar molecules, which were forced into an amorphous glass state, begin to reorganize into crystals. Exposure to moisture is the most common trigger, but it can also happen if you didn’t use an interfering agent like corn syrup or lemon juice during the boil. Once a single crystal forms, it acts as a seed that eventually turns the entire brittle piece into a soft, sandy texture.