

Master the Grind: Techniques for Perfecting Ground Nuts at Home

To successfully grind nuts, you must balance mechanical force with the precise management of internal oils. Whether aiming for a coarse crumble or a fine flour, the goal is to break down the cellular structure without generating enough heat to trigger a paste-like emulsion. Success depends on choosing the right equipment for your desired mesh size and utilizing short, controlled bursts of power to keep the natural fats stable and dry.
The Science of Oil Release
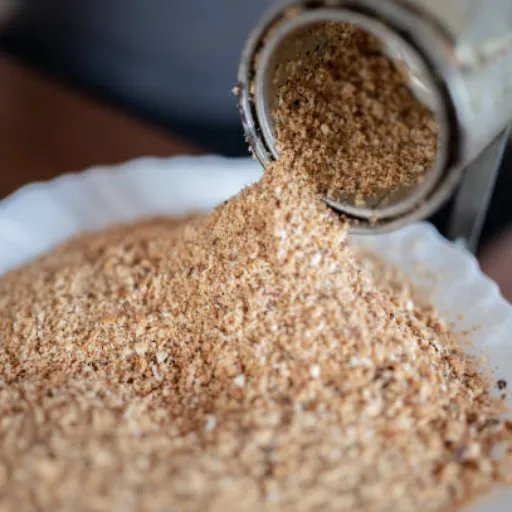
Every time you grind nuts, you are essentially performing a high-stakes demolition of microscopic plant cells. Inside those cells sit natural oils—the very fats that make almonds or walnuts delicious but also potentially messy. When your blade strikes the nut, it ruptures these cell walls. If the friction generates too much heat, those oils liquefy and seep out, coating the dry particles.
This is the exact moment a light meal transforms into a heavy paste. Industry observation suggests that nuts with higher fat content, like macadamias or pecans (often exceeding 70% fat), reach this “pasting point” much faster than leaner varieties. A realistic scenario: you pulse your processor for just five seconds too long, and the friction raises the temperature of the blade, causing the oils to emulsify with the nut solids. Once that bond forms, you can’t simply “dry it out” to return to a flour-like state. Keeping the process fast and cool is the only way to ensure the oils stay locked inside the fragments.
3 Essential Tools to Grind Nuts for Different Textures

The tool you choose dictates exactly how the nut’s cellular structure collapses. If you use a high-velocity blade, you are opting for impact; if you use a stone surface, you are choosing friction and weight. This distinction matters because the final mouthfeel of your grind nuts project—whether it is a powdery almond flour for a macaron or a chunky hazelnut topping for a tart—relies on how much surface area is exposed. Matching the mechanical action to your culinary goal prevents the frustration of ending up with a sticky paste when you wanted a dry crumb.
The Food Processor: Best for Flours and Butters
For sheer speed and volume, the food processor is the industry standard. Its sharp S-blade spins at high RPMs, literally shattering the nuts into smaller and smaller fragments. To avoid the heat-related oil release mentioned earlier, a practical example involves using the “pulse” button in short, 1-second bursts. Industry observation suggests that adding a tablespoon of sugar or flour from your recipe into the bowl can help absorb stray oils, keeping the mixture free-flowing. It is the only real choice if you need to process 500g or more in under a minute.
Manual Hand Grinders: Achieving the Uniform Garnish
When precision beats speed, a rotary hand grinder or a microplane becomes indispensable. These tools don’t shatter the nut; they shave it. This results in a remarkably light, fluffy texture that looks like fallen snow—perfect for garnishing desserts. Cautious cooks often prefer this for oily nuts like walnuts because the lack of motor heat significantly reduces the risk of clumping. It’s a slower process, but the visual uniformity is impossible to replicate with an electric blade.
The Mortar and Pestle: Controlling the Rustic Crumb
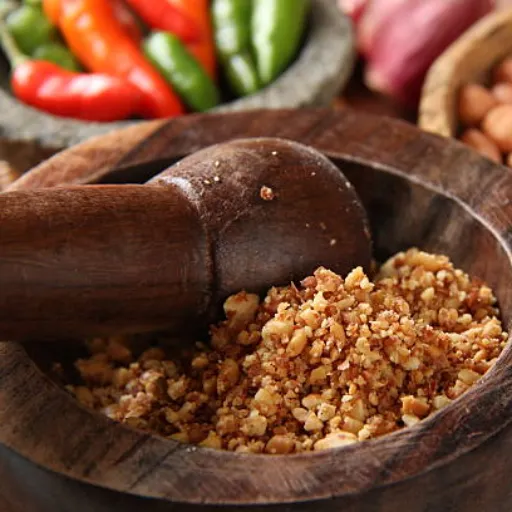
There is a tactile honesty to using a mortar and pestle. By using a heavy granite or marble set, you crush the nuts rather than slicing them. This “bruising” action releases aromatic oils onto the surface without emulsifying the entire batch. In a realistic scenario, like preparing a traditional pesto or a coarse pistachio crust, you have 100% manual control over the particle size. You can stop the moment you reach a 2mm or 3mm “rustic” crumb. This irregularity provides a satisfying crunch that feels intentional and artisanal, rather than the dusty uniformity of a machine.
Why Temperature is Your Greatest Obstacle
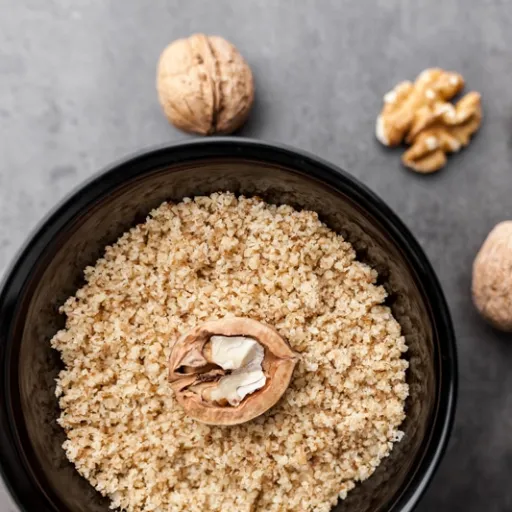
Heat is the silent catalyst that turns a crisp grind nuts project into a greasy failure. As your blades or burrs spin, they generate kinetic energy that transfers directly into the nut’s high fat reserves. Once the internal temperature of the nut meat climbs past a certain threshold—often cited by industry professionals as roughly 32°C to 35°C—the solid fats begin to liquefy.
A practical example of this “thermal creep” is felt on the sides of a food processor bowl; if it feels warm to the touch, you’ve already gone too far. In a realistic scenario, a baker trying to produce fine almond meal in a warm kitchen may find the powder clumping into heavy, damp pebbles within just 20 seconds of continuous running.
To combat this, cautious enthusiasts often pulse their equipment in four-second intervals, allowing the blades to cool between bursts. Some even go as far as freezing the nuts and the metal grinding components for 22 minutes prior to starting. This creates a “thermal buffer,” ensuring the friction-induced heat stays well below the melting point of the nut’s volatile oils.
Pre-Grind Prep: To Toast or Not to Toast?
The decision to apply heat before you grind nuts isn’t just about flavor; it fundamentally alters the mechanical physics of the process. Toasting dehydrates the nut, making the cellular structure more brittle. Brittle cells shatter cleanly. Conversely, raw nuts retain a higher internal moisture content, which can sometimes act as a buffer against oil leakage, though it results in a denser, heavier meal. You have to decide if you want the “snap” of a roasted kernel or the “give” of a raw one.
Maximizing Flavor Through Controlled Heat
Industry observation shows that a light roast—roughly 8 to 12 minutes at 165°C—brings internal oils to the surface. This is the Maillard reaction in action. A practical example of the benefit here is in nut butters; the heat loosens the fat bonds, allowing the machine to emulsify the mixture into a smooth liquid much faster than with cold, raw pieces.
However, caution is required. If you grind nuts while they are still warm from the oven, you are inviting a greasy disaster. The residual heat combined with the friction of the blades will almost certainly guarantee a paste rather than a powder. Always allow them to return to room temperature before processing.
The Case for Raw Grinding in Delicate Baking
Sometimes, the bold, toasted notes of a roasted nut are simply too aggressive. In a realistic scenario, like making traditional French macarons or a light almond sponge, you want the nut to provide structure without overshadowing the delicate floral or vanilla notes of the batter. Raw grinding yields a much whiter, more neutral flour.
Because raw nuts are slightly more “flexible” due to their 4% to 6% moisture content, they tend to produce a coarser grain unless you use a high-quality sifter to remove the larger, stubborn bits that refuse to shatter.
5 Common Mistakes That Turn Fine Meal Into Oily Paste
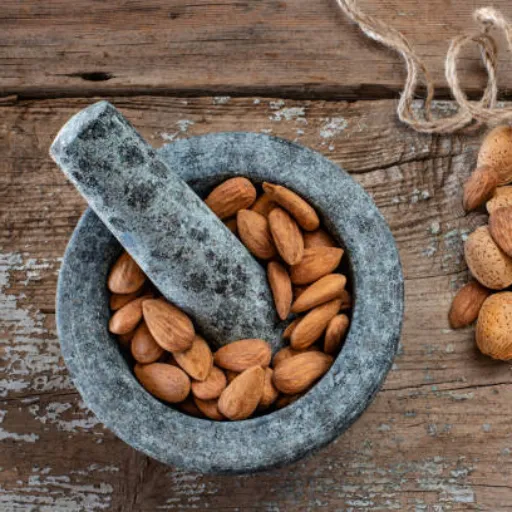
Achieving a powdery result when you grind nuts is a battle against physics. Most failures occur because the cook treats the nut like a grain rather than a high-fat botanical seed. If you ignore the volatile nature of these oils, you’ll end up with a sticky mass that ruins the aeration of your cake or the crumb of your crust.
- Continuous Running: Holding the “on” button is the fastest way to failure. Friction creates heat, and heat liquefies fat. Industry observation shows that even 12 seconds of uninterrupted blade spin can raise the internal temperature of a walnut enough to trigger an oily emulsion.
- Overcrowding the Bowl: Gravity is not your friend here. When you fill a processor to the brim, the nuts at the bottom are pulverized into paste by the weight and repeated blade contact before the top layer even breaks. Processing in small, manageable batches—roughly 140g to 180g at a time—ensures a uniform shatter.
- Ignoring Residual Heat: Grinding nuts while they are still warm from the oven is a guaranteed disaster. The cellular structure is already compromised and the oils are fluid; any mechanical stress will immediately release them.
- Using Dull Blades: A blunt edge doesn’t slice or shatter; it crushes. This crushing action acts like a traditional oil press, squeezing the lipids out of the cells rather than cutting the cells into smaller fragments.
- Skipping the Buffer: In a realistic scenario, such as making almond flour for macarons, skipping a “dry” additive can be costly. Adding a portion of the recipe’s sugar or starch (about 12% of the nut’s weight) provides a coating that may absorb stray oils, preventing them from bonding the particles together into a lump.
How Does Sifting Improve Your Final Baked Goods?
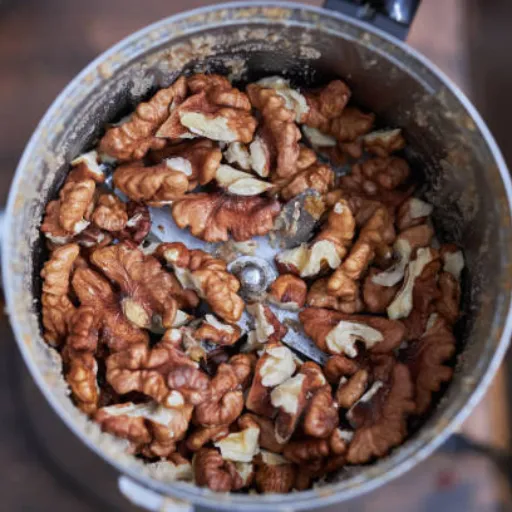
Sifting is the quality control stage of the grind nuts process. It acts as a final filter to ensure that no stray, oversized fragments—which can weigh down a delicate batter or create an unappealing “crunch” in a smooth ganache—make it into your bowl. Beyond just size consistency, sifting aerates the nut meal. This aeration is vital; it prevents the natural oils from causing the particles to clump together during the mixing phase.
Industry observation suggests that recipes requiring a high lift, such as a dacquoise, may fail if the nut flour is too dense or oily. By passing the grind through a screen, you ensure each particle is separate and ready to be coated by the dry ingredients, leading to a much more uniform crumb structure in the oven.
Selecting the Right Mesh Size
The diameter of the holes in your sieve dictates the “fineness” of your flour. For a standard rustic tart crust, a wider mesh of approximately 1.8mm to 2mm is often sufficient. However, if you are attempting a professional-grade macaron, you’ll need a much tighter screen—typically 0.8mm—to catch anything that isn’t a true powder. Using a mesh that is too fine for oily nuts like walnuts may actually cause them to clog the screen, leading to unnecessary friction.
Re-Processing the Large Bits Without Over-Grinding
After the first sift, you will inevitably have a pile of larger “nib” pieces that refused to pass through. A common practical example of a mistake here is throwing these back into the processor alone; the blades will just spin them into paste.
Instead, a realistic scenario for a successful save is to mix these oversized bits with a fresh handful of whole nuts. This provides “ballast” and keeps the mixture moving. Cautious processing at this stage is key. Pulse them only 3 or 4 times. This prevents the existing small particles from being pulverized into oil while you wait for the larger ones to finally shatter into the desired mesh size.
Troubleshooting: How to Save an Over-Processed Nut Paste
The line between a fluffy meal and a sticky clump is thinner than most realize. If you feel that heavy drag on your processor blades, you’ve likely crossed it. Once the oils fully coat the particles, the damage tends to be permanent for dry applications like macarons. However, you don’t necessarily have to toss the batch.
Industry observation suggests that roughly 15% to 20% extra dry ingredients can sometimes “shorten” the paste back into a workable crumb. A practical example of a save involves folding in a small amount of cornstarch or cocoa powder. In a realistic scenario, where your almond flour has turned into a thick marzipan-like glob, adding a tablespoon of granulated sugar may break the oily surface tension enough to allow for a rough crumble. If the texture is still too dense for baking, lean into the failure; continue the process until it becomes a smooth nut butter. This pivot saves the ingredients from the bin, even if the original recipe is a wash.
FAQ Section
Q: Should I peel the nuts before I start the grinding process?
Removing the skins, or blanching, is purely a matter of texture and aesthetics. For a professional-grade almond flour used in macarons or delicate sponges, peeling is essential to avoid bitter specks and a gritty mouthfeel. However, if you are making a rustic hazelnut crust or a dense walnut cake, keeping the skins on adds a deeper, earthy flavor and a boost of fiber. Just ensure the nuts are completely dry after blanching, as any lingering moisture will turn your grind into a soggy paste.
Q: How do I keep my food processor blades from overheating the nuts?
Friction is the primary cause of oil leakage, so you must manage heat through intermittent power. Instead of running the motor continuously, use short, one-second pulses. A realistic industry trick involves placing the processor bowl and blades in the freezer for about 20 minutes before you begin. This cold metal acts as a heat sink, absorbing the kinetic energy generated during the grind and keeping the nut fats in a stable, solid state for a longer duration.
Q: Is there a specific speed setting that works best for almond flour?
Medium-high speed is generally the sweet spot, but the “pulse” function is your most important setting. High speeds shatter the nuts effectively into a fine powder, but they also generate heat rapidly. Start with several quick bursts to break down the large chunks, then transition to slightly longer pulses as the meal thins out. Cautious processing ensures you reach that 0.8mm mesh size without crossing the threshold into almond butter, which happens almost instantly at sustained high speeds.
Q: Can I grind nuts with a coffee grinder without making a mess?
While a coffee grinder can produce an exceptionally fine powder for small garnishes, it is risky for larger batches. The small, high-speed blades are designed for dry beans, not oily nuts; consequently, they can turn walnuts or pecans into a trapped, greasy sludge in under five seconds. If you must use one, grind in tiny increments—no more than two tablespoons at a time—and wipe the chamber frequently to prevent old oils from becoming rancid and tainting future coffee grounds.
Q: How long can I store home-ground nut meal before it goes rancid?
Once you grind nuts, the increased surface area exposes the delicate oils to oxygen, accelerating oxidation. At room temperature, the meal may only stay fresh for about a week before developing a sharp, paint-like odor. For better longevity, store the flour in an airtight glass jar in the refrigerator for up to a month, or in the freezer for six months. Cold temperatures significantly slow down the chemical breakdown of the fats, preserving the sweet, nutty profile of your work.
Q: Why did my walnuts turn into a paste so much faster than my almonds?
It comes down to the fat-to-fiber ratio. Walnuts are significantly oilier, often containing roughly 65% fat compared to the 50% found in almonds. They also have a softer cellular structure that collapses under less pressure. Industry observation confirms that softer, high-fat nuts require much less mechanical work to reach their “pasting point.” When processing walnuts, you must be twice as vigilant with your pulsing technique to avoid triggering an unwanted emulsion.