
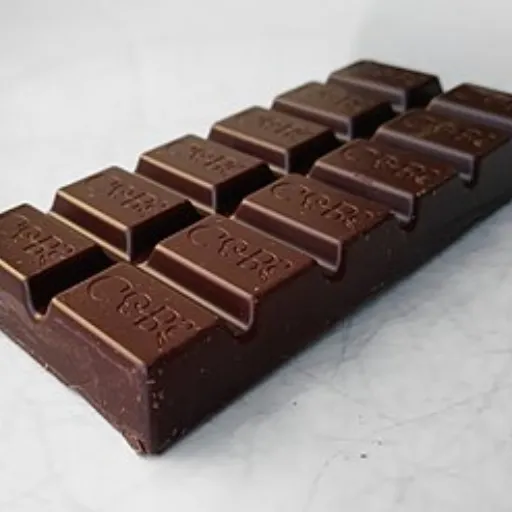
The Science of Surface Tension: Achieving Perfectly Level Chocolate Bars

Producing perfectly level chocolate bars demands strict control over viscosity, mechanical agitation, and thermal dynamics. The process goes beyond simply pouring tempered chocolate into a mold. It requires targeted vibration to expel internal air pockets and precise scraping techniques to ensure uniform weight distribution. Whether utilizing manual tools or automated leveling blades, mastering this phase prevents surface pooling, eliminates curled edges, and guarantees a flawless, professional finish after cooling.
The Mechanics of the Pour
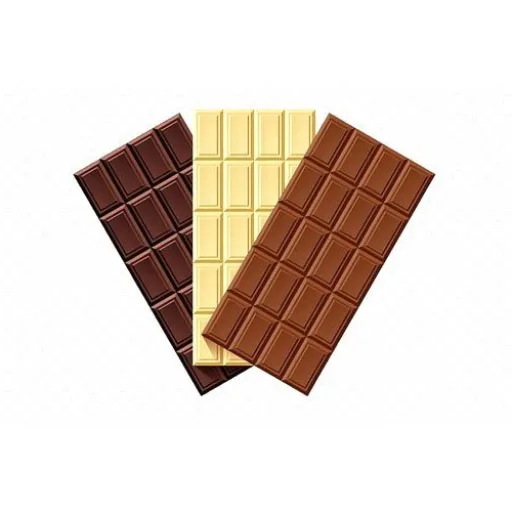
The journey to level chocolate bars starts before the mold even hits the vibration table. It begins with the fluid dynamics of the pour itself. Industry observation shows that operators often underestimate how dispensing speed dictates the final surface tension. If tempered chocolate hits the polycarbonate cavity too rapidly, it traps macro air pockets that mechanical vibration may never fully expel.
Conversely, a trailing, hesitant pour tends to cool prematurely. When the working temperature drops even slightly below optimal—say, 31.2°C for a dark couverture—viscosity spikes. The chocolate starts to stack rather than flow. You are essentially pouring a non-Newtonian fluid into a rigid boundary. The goal is a steady, central deposit that allows the mass to push outward evenly, displacing air ahead of the advancing wave rather than folding it underneath.
3 Ways Vibration Tables Eliminate Internal Air Pockets
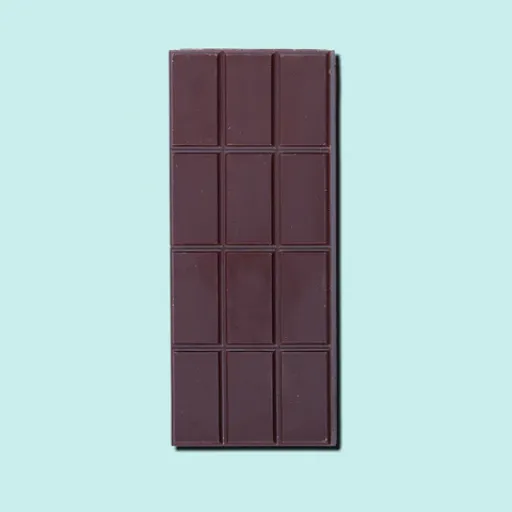
Vibration is the physical catalyst that forces a viscous fluid like chocolate to behave predictably within a confined space. Without it, the “level chocolate bars” consumers expect would be riddled with structural voids. The first way these tables work is through bubble coalescence; microscopic air pockets are shaken into larger ones, which gain enough buoyancy to break through the surface tension.
Second, vibration overcomes the wall friction of the mold. In a realistic scenario, chocolate often clings to the sharp 90° corners of a polycarbonate tray, leaving “missing” corners in the finished bar. Mechanical agitation breaks that surface bond, ensuring the chocolate flows into every crevice.
Finally, consistent movement facilitates hydrostatic leveling. By temporarily reducing the apparent viscosity of the tempered mass, the table allows gravity to do the heavy lifting, pulling the chocolate into a perfectly horizontal plane. It is a race against time—vibration must complete these tasks before the chocolate’s cocoa butter crystals begin to form a rigid lattice.
Frequency vs. Amplitude in Mold Settling
The settings on your equipment determine the clarity of your finish. High frequency (rapid, short cycles) is ideal for dislodging tiny, stubborn micro-bubbles that cling to the mold’s face. In contrast, high amplitude—the physical “jump” or height of the shake—is what moves the bulk mass of the chocolate to level it out.
Industry observation suggests that a frequency of roughly 3,100 vibrations per minute tends to be the sweet spot for standard 100g bars. If the amplitude is too high, you risk “splashing” or causing the chocolate to climb the walls of the mold, creating an uneven, messy rim.
Preventing Fat Migration Through Mechanical Movement
It sounds counterintuitive, but the way you shake the mold affects the final bloom of the bar. Fat migration often begins at the interface where air is trapped against the chocolate. By using mechanical movement to ensure a dense, air-free contact between the chocolate and the mold, you create a more stable crystalline structure.
A practical example is seen in high-fat milk chocolates; consistent vibration helps distribute the milk fats evenly throughout the suspension. This prevents “fat pooling” at the surface, which can lead to premature dullness or white streaks after de-molding.
Automated vs. Manual Agitation Protocols
Manual agitation—the classic “tap and slam” on a marble counter—is plagued by human inconsistency. One operator might shake a tray for 15 seconds, while another does it for 30, leading to variations in bar thickness and weight across a single shift.
Automated protocols remove this variable. In a high-volume setting, a conveyor-integrated vibration table might be set to a precise 22-second cycle at a fixed intensity. This ensures that every bar in a 500-unit run has the same density and surface level. It isn’t just about aesthetics; it’s about ensuring that a 100g bar actually weighs 100g. Automated systems may also incorporate multi-directional shaking, which is significantly more effective at leveling inclusions like nuts or sea salt than simple vertical tapping.
Why is viscosity the hidden enemy of a flat bar?
Viscosity is the measure of a fluid’s internal friction, and in chocolate production, it is the invisible hand that either smooths a surface or holds it in a jagged heap. If the “flow” is too thick, gravity and vibration struggle to pull the mass into a horizontal plane. Industry observation suggests that even a minor calculation error in cocoa butter ratios—perhaps as low as 1.5%—can increase the MacMichael viscosity enough to trap air bubbles permanently against the bottom of the mold.
A realistic scenario often involves environmental shifts in the production room. If the ambient temperature dips, the chocolate’s yield value—the force required to get it moving—spikes. You may find that while the chocolate looks tempered, it resists self-leveling, leaving an unsightly “peak” where the depositor nozzle last touched the mold.
It’s a thermal balancing act. A practical example is working with inclusions like crushed nibs or sea salt. These particles increase the effective viscosity of the suspension, meaning the vibration table has to work twice as hard to settle the mass. If the viscosity isn’t strictly managed through precise tempering and lecithin dosing, you won’t get a level chocolate bar; you’ll get a textured slab with inconsistent thickness that fails quality control at the wrapping station.
Managing the Scrape: The Engineering Behind Automated Leveling and Weight Consistency
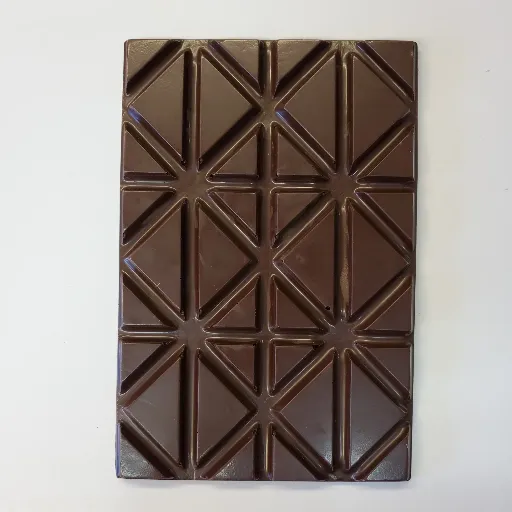
Once the vibration table has settled the mass, the “scrape” determines the industrial viability of the batch. This isn’t just about a clean aesthetic; it is a mathematical necessity for high-speed primary packaging. If a bar is 0.8mm too thick because the leveling blade skipped, the wrapping machine may jam, or the heat sealer might fail to close the foil. Engineering a level chocolate bar at scale requires a mechanical interface that can handle the sheer force of moving chocolate without deforming the mold.
Blade Pressure and Material Recovery Systems
The interface between the stainless steel scraper and the polycarbonate mold is a game of tolerances. Industry observation suggests that static blades often fail when facing high-inclusion recipes. To compensate, modern systems utilize pneumatic tensioners that maintain a constant downward force—roughly 14 to 18 psi depending on the viscosity.
A practical example of efficiency is the material recovery system. Instead of the “overage” being wiped into a waste bin, a heated return trough captures the excess chocolate and pumps it back into the tempering unit. This prevents the scraped material from cooling and forming “seed” crystals that could ruin the temper of the main tank.
The Impact of Mold Temperature on Final Surface Finish
Temperature differentials are the silent saboteurs of a flat finish. If a mold enters the line at a chilly 18°C, the chocolate touching the walls “shocks” and begins to set instantly. This creates a drag effect during the scrape. The blade ends up tearing the surface rather than gliding over it, leaving a micro-textured finish that looks dull once de-molded.
Ideally, molds should be pre-heated to within 2°C of the chocolate’s working temperature—usually around 29.4°C for milk varieties. Cautious phrasing is key here; while pre-heating is vital, overshooting the temperature will destroy the stable V-type crystals you worked so hard to create. A balanced mold temperature ensures the chocolate remains fluid enough to “heal” itself after the blade passes, resulting in that glass-like, level surface.
Scaling the Process: Transitioning from Hand-Leveled to Line-Leveled Production
Scaling up from a manual “pour and tap” method to an integrated production line changes the physics of the entire operation. In a boutique kitchen, a chocolatier might manage 4 or 5 molds a minute. Once you move to a continuous conveyor system, that throughput often jumps to 22 or even 38 molds per minute. At this velocity, human intervention becomes a bottleneck rather than a quality control measure.
The challenge in this transition is maintaining the “self-leveling” window. A realistic scenario involves a batch of dark chocolate traveling 15 meters from the tempering unit to the final cooling tunnel. If the conveyor vibration isn’t perfectly synchronized with the depositor’s stroke, the chocolate begins to set with a “sloped” surface. Industry observation suggests that line-leveling requires multi-stage agitation—initial high-amplitude shaking to distribute the mass, followed by a secondary low-amplitude “polishing” vibration to erase the marks left by the scraping blade. This mechanical redundancy ensures that every bar emerging from the tunnel is perfectly flat, regardless of how fast the belt is moving.
Common Leveling Failures and Their Physical Causes
Even with high-end machinery, physics can be a fickle partner. Achieving level chocolate bars consistently requires diagnosing failures not just as “bad batches,” but as specific mechanical or thermal imbalances. Industry observation suggests that most surface defects aren’t actually caused by the chocolate itself, but by how the mold interacts with the cooling environment and the agitation cycle. When a bar fails to settle, it is usually because the internal energy of the tempered mass was interrupted before it could reach a state of equilibrium.
The “Curled Edge” Phenomenon in Rapid Cooling
If the edges of your bars look like they are pulling away or lifting upward, you are likely cooling them too fast. This “curled edge” happens when the temperature in the cooling tunnel drops below 11.5°C too quickly. The exterior sets and shrinks while the core remains warm and fluid. This differential contraction creates a mechanical tension that warps the flat surface you worked so hard to achieve during the vibration stage.
Leveling Challenges When Working with Large Inclusions
Adding whole almonds or thick pretzel chunks fundamentally changes the displacement math of your mold. A realistic scenario involves the inclusions “bridging”—stacking on top of each other—which prevents the chocolate from filling the gaps underneath. To maintain a level profile, you often need to increase the vibration amplitude to roughly 2.8mm to “settle” the solids into the liquid. Without this extra force, the inclusions stick out like islands, creating a jagged top that will inevitably tear the foil during the packaging process.
Structural Distortions Caused by Improper Mold Clamping
On automated lines, the way the mold sits on the conveyor determines the level. If the clamping system is loose or the mold is slightly warped, the vibration energy doesn’t transfer evenly. You might see one side of the bar looking perfect while the other remains mounded. Cautious phrasing is necessary here; even a 0.5° tilt in a mold can result in a weight variance of several grams between the left and right sides of a single bar. Ensuring a dead-level, rigid connection to the vibration source is non-negotiable for mass production.
Identifying and Eliminating Base-Layer Micro-bubble Accumulation
Nothing ruins the “glass finish” of a bar like a colony of pinhole bubbles on the face. These micro-bubbles often accumulate at the base layer because the initial pour was too cold or the vibration frequency was too low to break the surface tension at the polycarbonate interface. A practical example of a fix is a “pre-vibration” step—shaking the empty mold slightly as the depositor begins its stroke. This encourages the chocolate to “wet” the surface instantly, pushing those tiny air pockets upward before they get trapped.
Does ambient humidity affect the self-leveling properties of tempered chocolate?
Humidity is often the “ghost in the machine” for chocolate producers. While we focus heavily on temperature, the moisture content of the air dictates how the surface of the chocolate interacts with the environment. High relative humidity—anything consistently north of 52%—can introduce a microscopic layer of moisture onto the exposed back of the bar before it even reaches the cooling tunnel.
This moisture acts as a contaminant that alters surface tension. Instead of the chocolate flowing into a glass-like, level plane, it may develop a slight “drag” or skin. Industry observation suggests that in humid environments, the chocolate tends to seize at the edges of the mold more aggressively, preventing the vibration table from achieving that perfectly flat, edge-to-edge finish. It essentially turns a fluid process into a mechanical struggle.
The Dew Point Variable in the Molding Room
The real danger isn’t just “wet air”; it is the relationship between the mold temperature and the local dew point. If you bring a stack of polycarbonate molds from a cool storage area into a warm, humid production room, they may look dry, but they are often below the dew point.
A realistic scenario involves a mold at 19.2°C entering a room at 25°C with 60% humidity. Micro-condensation forms instantly. When the tempered chocolate hits that film of water, the leveling process fails. The water prevents the fats from bonding to the mold surface, causing “sugar bloom” and a pitted, uneven underside. A practical example of a fix is maintaining the molding room at a strict 45% relative humidity while ensuring molds are pre-wetted with heat, not water, to stay at least 3°C above the dew point at all times.
FAQ Section
Q: What is the ideal vibration frequency for a standard 100g chocolate bar?
Achieving a perfectly flat surface typically requires a frequency between 3,000 and 3,500 vibrations per minute (VPM). This rapid oscillation is high enough to break the surface tension and “liquefy” the chocolate’s movement without being so violent that it splashes the mold walls. If the frequency is too low, the chocolate remains stagnant; too high, and you risk introducing micro-bubbles rather than eliminating them. Finding this sweet spot ensures the mass settles into every corner of the 100g cavity before the tempering set begins.
Q: Can I achieve a level surface without using a mechanical vibration table?
While manual “tapping” on a marble slab can work for a handful of bars, it lacks the consistency needed for a professional finish. Hand-tapping often results in uneven energy distribution, leaving one side of the bar thicker than the other. Mechanical tables provide a uniform, multidirectional force that gravity alone cannot replicate. Without this consistent agitation, the chocolate’s internal friction—especially in high-viscosity dark blends—tends to leave unsightly mounds or trapped air pockets that ruin the bar’s structural integrity.
Q: How does the fat content of the cocoa butter change the leveling time?
High cocoa butter content naturally lowers viscosity, allowing the chocolate to flow into a level plane much faster. Conversely, “lean” chocolates with lower fat percentages require significantly longer vibration times to overcome their high yield value. In a production setting, a high-fat milk chocolate might level in 10 seconds, whereas a low-fat dark couverture might need 25 seconds of intense agitation. Adjusting your line speed based on the specific fat profile of the recipe is crucial for maintaining throughput without sacrificing surface quality.
Q: Why do my chocolate bars have a dip in the center after cooling?
This “sunken” appearance is usually a result of thermal contraction rather than poor leveling. If the exterior of the bar sets too quickly while the core remains warm, the chocolate pulls inward toward the center as it cools. This often happens if the cooling tunnel temperature is set below 10°C or if the molds were overfilled before scraping. Ensuring a gradual cooling curve and a precise, level scrape before entering the tunnel helps mitigate this localized shrinking, keeping the back of the bar perfectly flat.
Q: Is it better to level the chocolate before or after the inclusions are added?
For optimal results, you should perform a primary level immediately after depositing the chocolate and a secondary, more vigorous vibration after adding inclusions. This two-stage process ensures that the base layer is free of air bubbles before the solids—like nuts or fruit—are introduced. Once inclusions are in, high-amplitude vibration is necessary to “nestle” the pieces into the fluid mass. This prevents them from protruding above the surface, which would otherwise create an uneven back that is difficult to scrape and package.
Q: How often should automated leveling blades be calibrated for weight accuracy?
Industry standards recommend a calibration check at the start of every shift and a deep recalibration whenever you switch recipes. Because different chocolate types have varying densities and cling factors, a blade set for a fluid milk chocolate may not apply the correct pressure for a viscous dark blend. Regular checks prevent “drift,” where the blade gradually lifts and allows bars to become overweight. Monitoring the tension every 4 to 8 hours ensures that your 100g bars stay within a ±1.5g tolerance.