
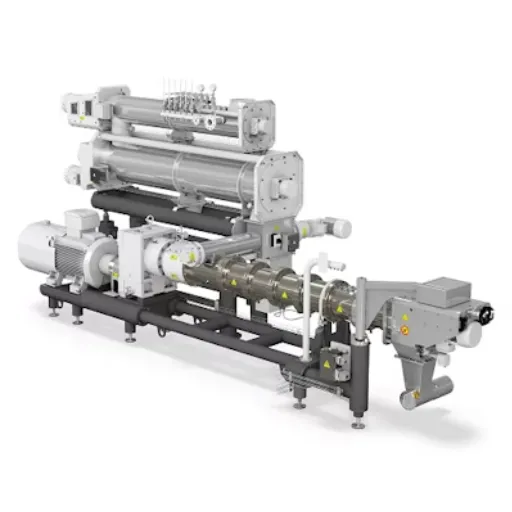
Pet Food Extrusion Troubleshooting: A Field-Ready Guide to Diagnosing Common Defects

Most pet food extrusion defects trace back to one of three zones: the preconditioner, the extruder barrel, or the dryer. Pet food extrusion troubleshooting works best when operators isolate the zone first, then adjust one variable at a time. This guide walks you through the 12 most common defects, their root causes, and the field-tested fixes used in working pet food production lines.
When Marcus ran his first overnight shift at a new kibble plant in February, the line started surging at 3 a.m. He responded by cranking up the screw speed. Within twenty minutes, the motor tripped on overload, the die plugged solid, and the next four hours went to clearing a frozen barrel. The total cost was about $18,000 in scrap, downtime, and overtime, all because the real problem was a feeder calibration drift that took two minutes to fix once it was identified.
Stories like that one repeat across the industry every week. Pet food extrusion is unforgiving when operators treat symptoms instead of root causes. The best thing: Most defects are predictable. With a structured diagnostic mindset, you can isolate the zone, identify the cause, and apply the right fix before scrap piles up.
This guide gives you a master defect table, a five-step diagnostic process, and section-by-section breakdowns of the twelve most common pet food extrusion problems. Use it as a field reference on the production floor.
Key Takeaways
- Surging, die plugging, and expansion defects cause more than 60% of unplanned pet food extruder downtime.
- Roughly 30 to 40% of defects originate in the preconditioner, not the extruder barrel itself.
- Change one variable at a time. Simultaneous adjustments make root cause analysis nearly impossible.
- Specific mechanical energy (SME) targets between 100 and 200 kJ/kg deliver the best kibble structure for most formulas.
- A documented troubleshooting log shortens future diagnostics and protects production knowledge when staff turn over.
Why a Diagnostic Mindset Matters in Pet Food Extrusion Troubleshooting
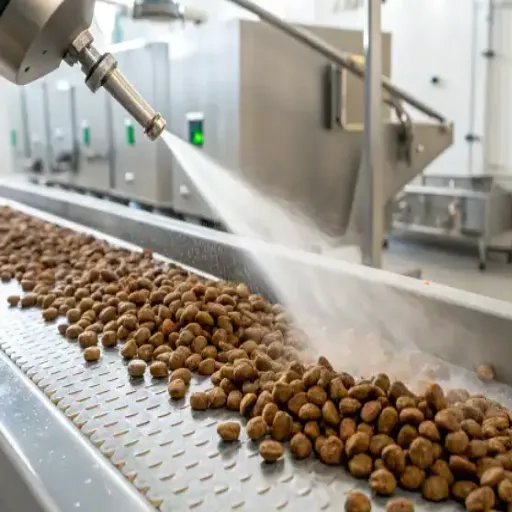
Extrusion is a continuous process, which means a single upstream change ripples through the rest of the line within seconds. When operators adjust screw RPM, steam pressure, and water injection at the same time, they create new problems while masking the original one.
The professional approach borrows from automotive diagnostics. Start with symptoms. Map symptoms to the most likely zone. Test one fix. Confirm the result before moving on. This patience pays back quickly in reduced scrap, lower energy costs, and more predictable production.
Want a faster way to standardize this process across your team? Our complete pet food production line systems include PLC-based diagnostic dashboards that log every parameter shift, so root causes become visible in real time.
Quick-Reference Defect Table
Print this table and post it near the extruder. It maps the ten most common symptoms to their likely cause and the first action to take.
| Symptom | Likely Cause | First Action |
|---|---|---|
| Surging or output pulsation | Feeder drift or moisture variance | Verify feeder calibration; check preconditioner steam balance |
| Die plate plugging | Low moisture, high fat, or worn cutter | Increase water injection; inspect cutter clearance |
| Low expansion, dense kibble | Insufficient SME or excess moisture | Raise screw RPM; increase barrel zone temperatures |
| Over-expansion, fragile kibble | Excess SME or excess steam | Lower screw RPM; reduce steam injection |
| Inconsistent kibble size | Cutter wear or upstream surging | Sharpen blades; resolve surging first |
| Scorched, burnt kibble | Excessive shear or barrel temperature | Lower final-zone temperature; reduce screw RPM |
| Cracked or split kibble | Drying too fast or weak structure | Slow dryer ramp; raise extruder inlet moisture |
| Motor overload or torque spike | Dry mash, formula change, or screw wear | Stop, inspect, recheck recipe parameters |
| Color drift between batches | Residence time variability | Stabilize throughput and barrel setpoints |
| Premature screw wear | Abrasive ingredients or misalignment | Switch to wear-resistant alloy elements |
Each row maps to a deeper section below. Skip to the one you need.
1. Surging and Output Pulsation
Surging is the most common pet food extrusion troubleshooting case. Symptoms include pulsing motor amperage, variable kibble length out of the die, and a hunting throughput reading on the operator panel.
Three causes account for nearly every surging event. First, an inconsistent feeder rate, often from a worn auger or a sticky ingredient. Second, moisture variance in the preconditioner, usually from a steam pressure swing. Third, worn screw elements that no longer hold a stable fill ratio.
Fix it in this order: calibrate the gravimetric feeder, verify steam pressure within plus or minus 2 psi, then inspect the screw elements during the next scheduled stop. If the surge clears after step one, you saved a major repair.
2. Die Plate Plugging and Blockage
Die plugging starts as a slow pressure climb on the discharge gauge, followed by a drop in kibble output and a change in cutter sound. By the time operators notice the irregular sound, the die is usually 30 to 50% blocked.
The two leading causes are insufficient moisture at the extruder inlet (below 22%) and high in-line fat content above 15%. Fat creates shear-resistant lumps that bridge across die holes. A worn or dull cutter blade then drags material backward across the die face, accelerating the plug.
To resolve it, increase water injection in 0.5% steps until pressure stabilizes. Inspect cutter blade clearance, which should sit between 0.05 and 0.10 mm against the die face. If the blade has lost more than half its original edge profile, replace rather than sharpen.
For high-fat formulations, consider upgrading to a modular dry kibble production line with downstream vacuum coating. Moving the fat application off the extruder eliminates the plugging mode entirely.
3. Low Expansion and Dense Kibble
Dense kibble shows up as high bulk density readings, sinking floating fish feed, or a hard, glassy texture that pets reject. The root cause is almost always insufficient specific mechanical energy, or SME, in the extruder barrel.
SME measures the mechanical work imparted to the dough per kilogram of throughput. For pet food kibble, the target sits between 100 and 200 kJ/kg. Below that range, starch gelatinization stays below 80%, the dough does not fully cook, and expansion at the die collapses.
Three adjustments solve most low-expansion cases. Increase screw RPM in 10-rpm steps. Raise the final two barrel zones by 5 to 10 degrees Celsius. Reduce inlet moisture by 1 to 2% to concentrate the mechanical energy. Make one change, run for five minutes, then measure bulk density before the next adjustment.
4. Over-Expansion and Fragile Kibble
The opposite problem looks like fines in the dryer outfeed, breakage during bagging, and bulk densities well below specification. Kibble that is too light to ship is just as costly as kibble that sinks when it should float.
Excess SME, too much steam in the preconditioner, or low extruder inlet moisture all push expansion past target. The fix mirrors the low-expansion playbook in reverse: reduce screw RPM in 10-rpm steps, cut steam injection by 5%, and reformulate to add a small fiber load if structural strength is chronically weak.
5. Inconsistent Kibble Size and Shape
When kibble lengths vary by more than plus or minus 15%, the cutter is rarely the only culprit. Surging upstream of the die produces inconsistent extrudate density, which then yields irregular cuts even with a perfect blade.
Diagnose in this order. Confirm the line is not surging using the steps in Section 1. Check cutter blade clearance and sharpness. Verify cutter speed matches the recipe setpoint, since drift in the variable-frequency drive can shift cut length by 5 to 10% without an alarm. Only after all three are confirmed should you adjust die hole geometry.
Want a sharper diagnostic edge? Request a free production audit from our engineering team. We will benchmark your line against ten reference KPIs and identify the highest-impact fixes.
6. Scorched, Burnt, or Discolored Kibble
When kibble shows dark patches, smells of burned protein, or measures low on digestibility tests, the barrel has run too hot or held material too long. The Maillard reaction accelerates above 160 degrees Celsius, and runaway reactions begin near 180.
Causes include barrel zone temperatures that climbed above 180 degrees, excessive shear from too-aggressive screw configurations, or extended residence time from a drop in throughput.
The fastest fix is lowering the final two barrel zones by 10 degrees, then reducing screw RPM by 10 to 15%. If the problem persists, your screw configuration may carry too many mixing elements for the current recipe. A screw redesign during the next planned maintenance window often resolves chronic browning.
7. Cracked, Split, or Hollow Kibble
Splits show up at the dryer discharge or in the bagging line. Internal voids mean the kibble cooled too fast on the outside while the core was still expanding. Hollow centers indicate incomplete starch gelatinization paired with aggressive drying.
The fix is rarely at the extruder. Slow the dryer temperature ramp on the first zone by 5 to 10 degrees Celsius. Verify inlet moisture at the extruder sits between 22 and 26% for most kibble formulas. If the core still feels chalky, raise the second-to-last barrel zone by 5 degrees to drive cook completeness.
For a deeper dive on selecting the right configuration, see our pet food extruder selection guide. Equipment choice often determines how forgiving your process is to formulation drift.
8. Motor Overload and Torque Spikes
Motor overloads protect the gearbox and screws from catastrophic failure. A trip is never the actual problem; it is the symptom of something upstream. Bypassing the overload setpoint to keep production running is the single fastest way to destroy a $200,000 extruder.
The most common causes are dry mash entering the barrel, a recent formula change with higher mineral or fiber load, accumulated screw wear that has narrowed the barrel clearance, and foreign material such as a stray bolt or hardened starch lump.
When a torque spike occurs, stop the line immediately, lock out the drive, and inspect the barrel through the access port. Verify the formula sheet matches the active recipe, and review the last 24 hours of moisture logs for a drift event. If screw wear is suspected, schedule a barrel inspection within the next 48 hours. Production reliability depends on it.
9. Color Drift Between Batches
Lot-to-lot color variation makes premium pet food brands nervous because retail buyers reject inconsistent appearance. Root causes include residence time variability driven by throughput swings, ingredient batch differences (especially in animal protein meals), and uncontrolled Maillard reaction conditions.
The fix is stabilization, not correction. Lock throughput within plus or minus 3% of setpoint, document barrel zone setpoints in the recipe, and require a single supplier batch for any production run greater than 8 hours. Color drift drops by 60 to 80% in plants that adopt this discipline.
10. Premature Screw and Barrel Wear
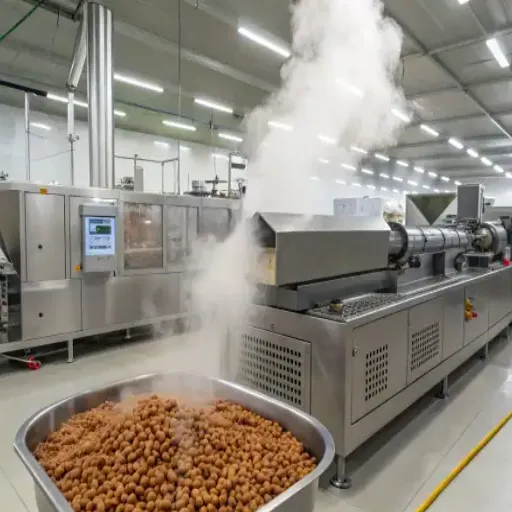
Screws and barrels are wear parts, but they should not need replacement annually. When throughput drops at the same RPM, fines increase in the screen room, or expansion declines over weeks rather than minutes, abrasive wear is in progress.
The dominant cause is high-ash formulations, particularly those above 8% mineral content. Calcium carbonate and bone meal are aggressive on standard alloy screws. Misaligned screws from a bad reassembly will also chew themselves up within weeks.
The solution is a materials upgrade. Tool-grade steel screws cost 30 to 50% more than standard alloy but last 3 to 5 times longer. PM-HIP (powder metallurgy hot isostatic pressing) screws cost more still and deliver 8 to 10 times the wear life. For high-ash production, the math nearly always favors the upgrade.
Our advanced twin-screw extrusion solutions ship with wear-resistant alloy elements as a standard option for abrasive formulations.
11. The Hidden Source: Preconditioner Problems
The preconditioner is the most overlooked diagnostic source in pet food extrusion troubleshooting. Industry data suggests 30 to 40% of downstream defects originate here, yet most operators treat the preconditioner as a passive mixer.
Variable mash temperature is the first warning sign. The target sits between 80 and 95 degrees Celsius, with variation under plus or minus 3 degrees during steady-state operation. Lumping in the discharge chute, visible wet or dry patches in the mash, and inconsistent dough cohesion at the barrel inlet all point to preconditioner trouble.
The three causes that account for nearly every preconditioner defect are steam pressure drops in the supply header, water injection variance from a dirty flow meter, and paddle wear that no longer mixes adequately. The fix is routine: drain steam traps weekly, calibrate the water flow meter monthly, and inspect paddle wear quarterly. This 15-minute weekly routine prevents most downstream defects.
12. When to Repair, Replace, or Upgrade
Eventually every extruder reaches a decision point. A mid-size pet food plant losing four hours per week to defects loses roughly $200,000 per year in scrap, energy, and labor. When repair costs cross 30 to 40% of replacement cost in any 12-month window, the math points to replacement.
Signs that the equipment has reached end-of-life include declining throughput at full RPM, rising energy consumption per ton, frequent unplanned stops, and an inability to run modern high-protein or fresh-meat formulations.
Modular extruder design changes the upgrade calculation. Instead of replacing the entire line, modern systems allow staged upgrades to the barrel, screws, control system, or downstream dryer. This protects past capital investment while bringing the process up to current standards.
When Anna, a plant manager at a Brazilian pet food exporter, faced this choice last year, she replaced only the extruder barrel and screws while keeping her existing preconditioner and dryer. The total investment was 40% of a full replacement, and her throughput rose 22% within six weeks. The same approach works for most pet food plants planning capacity expansion.
If you are weighing repair against replacement, talk to our team. We map upgrade options against your current line and your three-year production targets. Request a consultation with our extrusion engineers and get a clear, vendor-neutral assessment.
Building a Troubleshooting Culture That Lasts
Tools and parts matter, but the real driver of low-defect production is operator discipline. Three habits separate plants that troubleshoot well from plants that fight the same defects every week.
First, log every parameter change with a timestamp, the change made, and the result. This builds institutional memory and protects against staff turnover. Second, run a weekly defect review with the production team. Ten minutes of focused discussion identifies patterns that single-shift operators miss. Third, train new operators on the diagnostic mindset before they touch the control panel. Knowing why a parameter changes prevents most bad fixes.
For teams ready to formalize this practice, our single-screw versus twin-screw extruder comparison breaks down how equipment design influences defect modes and what to expect from each configuration.
Conclusion: Make Defects the Exception, Not the Routine
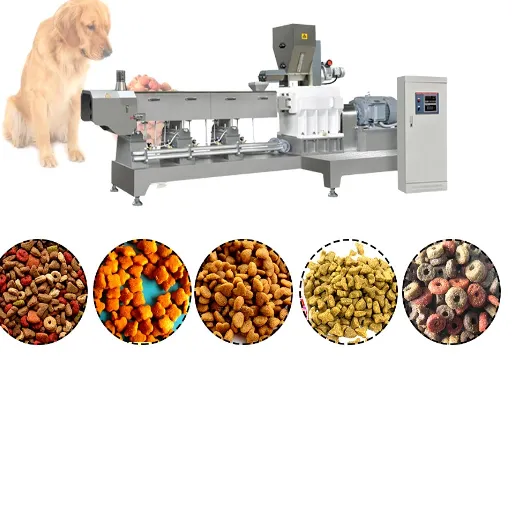
Effective pet food extrusion troubleshooting comes down to three habits. Isolate the zone before adjusting parameters. Change one variable at a time. Document every result. Plants that follow this discipline cut defect-driven downtime by 40 to 60% within the first year.
The twelve defects covered in this guide account for roughly 90% of pet food extrusion problems. Bookmark the master defect table, train your operators on the diagnostic process, and treat the preconditioner with the same respect as the extruder itself.
If your plant is fighting recurring defects, you have two paths forward. Apply the fixes above section by section, or bring in a process audit that maps your specific symptoms to root causes. Either approach beats running the line on hope.
Ready to standardize troubleshooting across your team? Request a free technical consultation with our extrusion engineers. We will benchmark your current performance and identify the three changes that will deliver the largest reduction in scrap and downtime.
Frequently Asked Questions
Why does my pet food extruder keep surging?
Surging is almost always caused by feeder drift, preconditioner moisture variance, or worn screw elements. Calibrate the feeder first, verify steam pressure within plus or minus 2 psi, then inspect screws during the next maintenance window.
What causes die plate plugging in pet food production?
Two factors account for most plugs: extruder inlet moisture below 22% and in-line fat content above 15%. Increase water injection in 0.5% steps and inspect cutter clearance between 0.05 and 0.10 mm.
How do I fix kibble that will not expand properly?
Low expansion means insufficient specific mechanical energy. Target SME of 100 to 200 kJ/kg. Raise screw RPM in 10-rpm steps, increase the final two barrel zones by 5 to 10 degrees Celsius, and reduce inlet moisture by 1 to 2%.
Is preconditioner maintenance really worth the time?
Yes. Industry data shows 30 to 40% of downstream extrusion defects originate in the preconditioner. A 15-minute weekly routine of steam trap maintenance, flow meter checks, and paddle inspection prevents most of those defects.
When should I replace my pet food extruder instead of repairing it?
When annual repair costs cross 30 to 40% of replacement cost, throughput declines at full RPM, or the equipment cannot handle modern high-protein formulations, replacement or modular upgrade is the better economic choice.