

The Authentic Ted Lasso Biscuit Recipe for Home Bakers

Recreating the famous Ted Lasso biscuit recipe at home comes down to mastering a traditional, four-ingredient butter shortbread. Instead of a complicated baking process, achieving that signature melt-in-your-mouth texture requires high-quality butter, precise mixing, and the right baking pan. Whether you are baking a single batch in a home kitchen or exploring larger-scale dough handling, understanding the fundamental mechanics of this delicate shortbread is the key to perfect results.
The Secret to the Famous Shortbread Texture
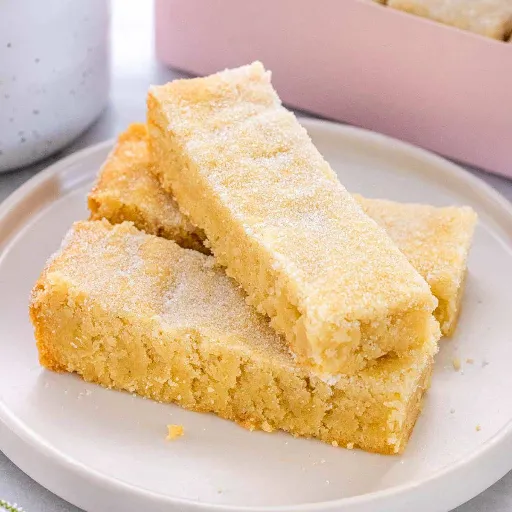
The defining characteristic of the Ted Lasso biscuit recipe is its delicate, crumbly texture. This structure relies entirely on the mechanical interaction between the fat and the flour. If the butter is too warm, it melts into the dry ingredients prematurely, creating a dense, greasy solid rather than a flaky crumb.
Commercial bakeries producing shortbread at scale carefully monitor ambient room temperatures to prevent this exact issue. They aim to work with butter hovering right around 65°F. At this temperature, the fat is pliable enough to incorporate air during creaming but cold enough to maintain its structural integrity once it hits the hot oven.
In a standard home kitchen, pulling the butter from the fridge about 35 to 40 minutes before mixing usually achieves this ideal state.
Overmixing is the other primary hazard. Once the flour joins the wet ingredients, gluten network formation begins immediately. Agitating the dough for even a minute too long often transforms a tender, melting biscuit into something tough and chewy.
Exactly What You Need to Bake the Ted Lasso Biscuit Recipe
You only need four fundamental ingredients: unsalted butter, all-purpose flour, powdered sugar, and salt. Because the list is so short, ingredient quality entirely dictates the final flavor profile.
Standard supermarket butter often contains a higher water content, which can make the baked crumb slightly tough. Sourcing a European-style butter with at least 82% butterfat tends to yield a much richer, authentic bite.
Hardware matters just as much as the pantry items.
Relying on an electric stand mixer ensures you incorporate enough air during the creaming phase. Attempting this by hand rarely achieves the necessary lightness for a true shortbread texture. You will also need a metal 8×8-inch square pan. Metal conducts heat faster and more predictably than heavy glass or ceramic, ensuring the base of the biscuit bakes evenly before the delicate center dries out completely.
Step-by-Step Process
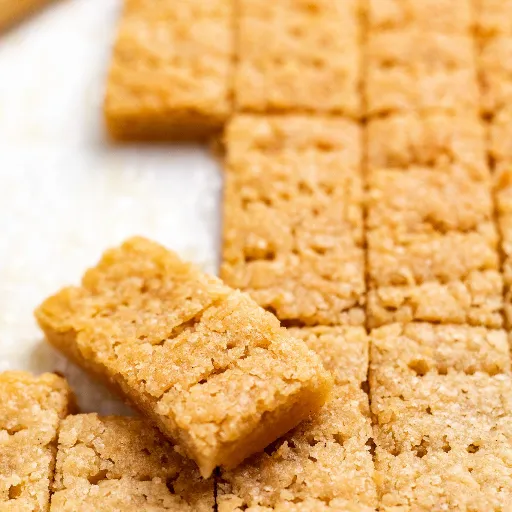
Making this iconic shortbread is less about complex culinary skills and more about mechanical precision. You are essentially building a fragile structure out of fat and starch. Following the exact mixing sequence prevents the proteins in the flour from developing too much elasticity. In a commercial setting, automated dough sheeters handle this delicate balance effortlessly. At home, you have to pay close attention to visual cues at each stage to ensure the dough remains crumbly rather than tough.
Creaming the Butter and Sugar
Start by beating the room-temperature butter on a medium-high setting for roughly 3 to 4 minutes. You want to see a distinct color shift from pale yellow to nearly pure white. Reduce the speed, then gradually add the powdered sugar until it dissolves completely into the fat.
This aeration is crucial. Rushing this stage often results in a dense, heavy bake.
While commercial planetary mixers handle this aeration in mere seconds, your home stand mixer really does need that full time. Make sure to scrape the bowl down at least twice so no unmixed butter gets left behind.
Sifting and Folding the Dry Ingredients for a Tender Crumb
Always sift the all-purpose flour and salt before introducing them to the butter mixture. Powdered ingredients compress during storage, and sifting breaks up those microscopic clumps, allowing the flour to hydrate evenly.
Switch the mixer to its lowest possible speed, or better yet, fold the dry ingredients in by hand using a silicone spatula.
Stop mixing the very second the white streaks of flour disappear. Any further agitation encourages gluten strands to form. Think of the dough at this stage as wet sand rather than a cohesive bread dough. It should look slightly shaggy and feel delicate to the touch. Pushing it further will immediately compromise the melt-in-the-mouth texture.
Pressing into the Pan
Transfer that shaggy dough into your prepared 8×8-inch metal pan. Do not pack it down with heavy force. Instead, use the back of a measuring cup or an offset spatula to gently coax the dough into an even layer.
Compacting the dough too aggressively squeezes out the air you just spent four minutes whipping into the butter. Aim for a level surface so the entire batch bakes at the same rate.
Baking and Slicing
Bake at 300°F for somewhere between 45 and 55 minutes. You are looking for a very pale golden color, with the edges just barely starting to brown.
Pull the pan from the oven and let it rest for exactly 10 minutes. This brief cooling window allows the butter structure to solidify slightly. If you try slicing immediately, the shortbread will shatter. Use a sharp, thin-bladed knife to cut the warm block into even rectangles. Once completely cooled, the pieces will lift out perfectly.
3 Common Mistakes When Making Biscuits with the Boss
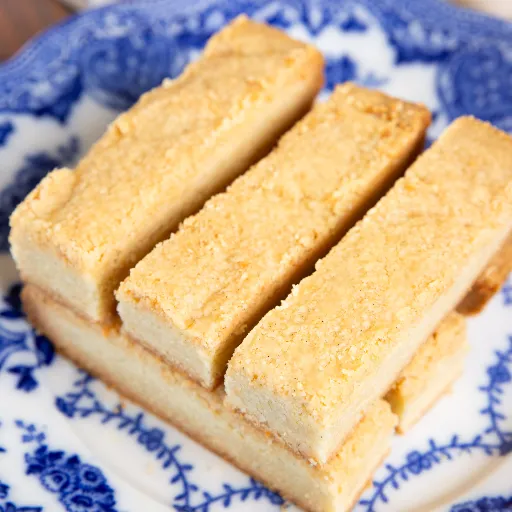
Baking shortbread seems incredibly simple because of the short ingredient list. That simplicity, however, means there is absolutely nothing to hide behind. Even slight deviations in handling the dough or managing temperature will fundamentally alter the texture. Most failures happen during the mechanical mixing or cooling phases, rather than the bake itself. Here is where the process usually goes off track.
Overworking the Delicate Shortbread Dough
Flour contains proteins that form tough gluten strands when agitated. In industrial biscuit manufacturing, dough mixers are strictly calibrated to stop the exact second hydration occurs to prevent this.
At home, leaving a stand mixer running for just 45 seconds too long often transforms a tender crumb into a dense, chewy cookie. The goal is merely combining the ingredients. If your dough looks perfectly smooth and elastic like bread dough, the shortbread structure is already ruined.
Using Cold Butter Instead of Room Temperature
A common trap is deciding to bake on a whim and aggressively microwaving cold butter to speed things up. This usually leads to melted, oily pockets of fat that cannot trap air. Conversely, using butter straight from the fridge forces you to mix the dough longer, which inevitably overworks the flour.
You need butter sitting right at 65 degrees. It should yield slightly to a firm thumb press but still hold its distinct shape. This exact physical state is what allows it to cream properly with the powdered sugar.
Slicing While the Pan is Still Piping Hot
Shortbread is incredibly fragile right out of the oven because the butter within the crumb is still in a nearly liquid state. If you drag a knife through the pan immediately, the edges will shatter.
Waiting exactly 10 to 12 minutes gives the fat just enough time to stabilize. The block remains warm enough to yield to a knife without cracking, but firm enough to hold that iconic rectangular shape intact.
Why does the baking pan matter so much for shortbread?
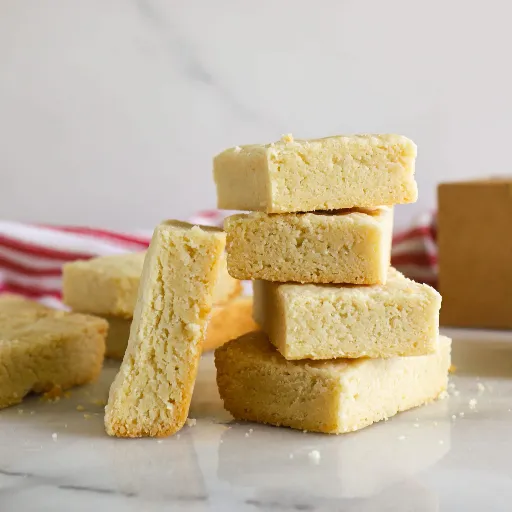
If you press a high-fat dough into a heavy glass dish, the edges often overbake before the center sets. Glass acts as an insulator. It takes longer to heat up and holds that thermal energy long after leaving the oven. Aluminum or aluminized steel, on the other hand, conducts heat rapidly.
Commercial biscuit manufacturers rely almost exclusively on uncoated aluminum trays for this exact reason.
When baking a shortbread recipe at exactly 300°F, you need immediate, even heat transfer across the entire bottom surface. A standard metal 8×8-inch pan ensures the butter melts at a uniform rate, which stabilizes the delicate flour structure before it can collapse.
Swap that metal pan for a thick ceramic baking dish, and the baking time becomes entirely unpredictable. The center tends to remain uncomfortably soft while the corners turn unpleasantly dark.
Transitioning from Home Kitchen to High-Volume Bakery Production
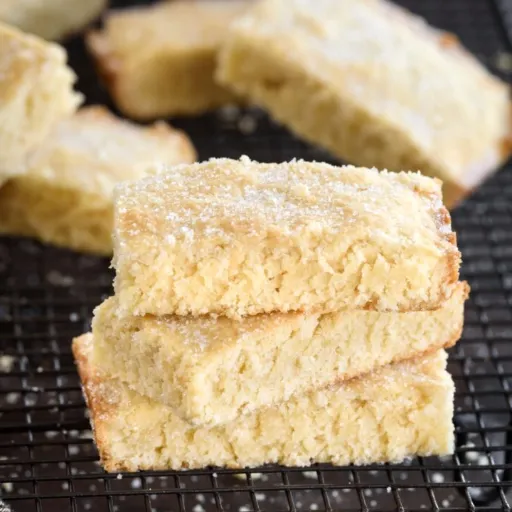
Moving a delicate shortbread recipe from a single 8×8 pan to a bakery floor presents immediate scaling challenges. At home, you can easily feel when the butter and sugar reach that perfect aerated stage. When you multiply those four simple ingredients by fifty, temperature control becomes a massive logistical hurdle.
The friction generated by mixing 45 pounds of dough simultaneously tends to heat the butter rapidly. If a bakery doesn’t adjust its ambient cooling or mixing speeds, the entire batch risks turning into a dense, greasy slab before it even hits the oven. Scaling up requires replacing manual intuition with strict mechanical parameters.
Industrial Mixers and Dough Handling
Replicating the gentle folding of dry ingredients at a commercial level usually demands specialized equipment. Planetary mixers equipped with large paddle attachments handle the initial creaming phase efficiently. However, the final flour incorporation is where texture is often lost.
High-volume operations frequently rely on automated dough sheeters to gently press the crumbly mixture into uniform layers without overworking the fragile gluten network. By rolling the shortbread through progressively tighter stainless steel cylinders, these machines successfully mimic the light touch of a home baker pressing dough into a metal tin.
FAQ Section
Q: How long do these shortbread biscuits stay fresh in an airtight container?
A: When stored properly at room temperature in a sealed container, the baked shortbread will maintain its ideal texture for five to seven days. Because the recipe relies so heavily on butter, exposing the squares to excessive air or heat will cause the fat to oxidize and taste stale. For the best experience, eat them within the first three days when the buttery crumb is at its absolute peak.
Q: Can I freeze the shortbread dough before baking?
A: Absolutely. Shortbread dough handles freezing exceptionally well due to its high fat and low moisture content. You can press the unbaked mixture directly into your metal pan, wrap it tightly with a double layer of plastic film, and freeze it for up to two months. When you are ready to bake, there is no need to thaw. Simply place the frozen pan right into the oven and add a few extra minutes to the total baking time.
Q: Why did my biscuits turn out too crumbly instead of melting in the mouth?
A: A dry, sandy texture usually points to an imbalance in the fat-to-flour ratio. Accidentally packing too much flour into your measuring cup is the most common culprit. It leaves the dough without enough butter to properly hydrate the starches. Alternatively, you might not have creamed the butter and powdered sugar long enough. If that mixture isn’t beaten until it turns pale and fluffy, the final biscuit will lack the structural cohesion needed to hold together before it hits your tongue.
Q: Do I need to line the baking pan with parchment paper?
A: While the high butter content naturally prevents the dough from sticking to the metal, using parchment paper makes the removal process significantly less stressful. Cutting a sheet to fit the bottom of the pan and leaving an overhang on two sides creates a convenient sling. Once the shortbread has cooled completely, you can lift the entire block out at once to slice it on a cutting board, ensuring cleaner edges and fewer broken corner pieces.