How to Reduce Oil Absorption in Fried Snacks

The most effective ways to reduce oil absorption in fried snacks are to pre-treat the product before it enters the fryer, control frying temperature and oil quality, and de-oil the snack immediately after it leaves the fryer. Vacuum frying delivers the largest single reduction, but for most production lines the biggest gains come from steps that many producers skip.
Here is the counterintuitive part. Vacuum frying gets nearly all the attention in “low oil” snack marketing, yet in a typical line the largest, cheapest savings come from what happens before the fryer and in the seconds right after frying. If you are chasing a lower-fat snack and only shopping for a new fryer, you are leaving most of the win on the table.
You already know the problem. Fat is the single biggest cost driver and the single biggest health objection in the fried snack category. A chip that soaks up too much oil costs more to make, has a heavier mouthfeel, and can never wear a “less fat” or clean-label claim on the pack.
That is what this guide fixes. You will learn why fried snacks absorb oil, the seven process levers that cut it, roughly how much each lever removes, and how to stack them into a complete low-oil production line. By the end, you will know which levers fit your product and where to spend your next capital dollar.
Key Takeaways
- No single switch cuts oil: the most reliable results come from stacking pre-fry, fry, and post-fry levers together.
- Pre-drying and hydrocolloid coatings can cut oil by roughly 20% to 40% in lab studies, before the snack even enters the fryer.
- Post-fry de-oiling is the most underused lever: removing surface oil the moment the snack leaves the fryer trims 8% to 15% or more of total fat.
- Vacuum frying at 80°C to 120°C delivers the largest single reduction, 30% to 50%, and is the structural answer for premium low-oil chips.
- Lower oil is a formulation, process, and equipment decision, which is why it pays to design the whole line around it rather than bolt on one machine.
Why Fried Snacks Absorb Oil
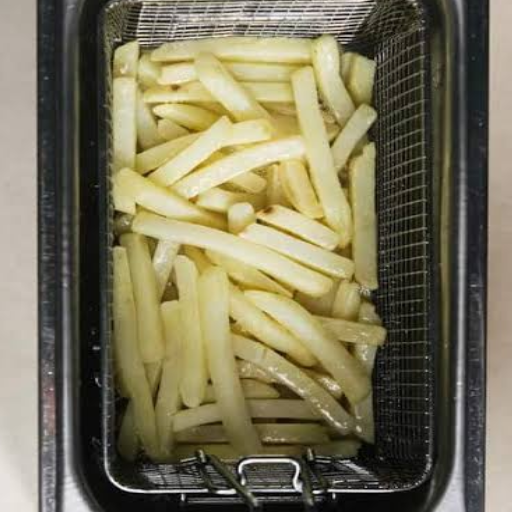
Fried snacks absorb oil because the moisture inside the food turns to steam during frying and leaves pores behind. As the snack cools, that steam condenses and a vacuum effect pulls surface oil into those pores. Most of the oil sits near the surface, which is why controlling frying temperature, pre-treating the food, and removing surface oil right after frying are the most effective ways to cut total oil.
That mechanism matters more than most plant managers realize. If most oil sits near the surface, then oil reduction is less about “stopping absorption” and more about managing the surface. You can attack it three ways: make the surface a better barrier, keep the pores smaller, or remove the surface oil before it gets pulled in.
Picture this. Lena runs a mid-sized potato chip plant that produces about 400 kilograms an hour. Her chips test at 38% oil, and her largest retail customer has just asked for a “40% less fat” line extension. She assumed she needed a new vacuum fryer, a six-figure investment. Instead, her process engineer proposed two changes: pre-dry the slices before frying and add a centrifugal de-oiling step after the fryer. Together those two moves brought the chips down near 27% oil. No new fryer. That is the difference between understanding the mechanism and buying a machine based on a trade show pitch.
7 Levers to Reduce Oil Absorption in Fried Snacks
The levers break into three stages of the line: before the fryer, inside the fryer, and after the fryer. Here is the full map.
| # | Lever | Line Stage | How It Works | Typical Oil Reduction |
|---|---|---|---|---|
| 1 | Blanching and acid pre-treatment | Pre-fry | Tightens the surface structure so it takes up less oil | Up to ~54% (lab) |
| 2 | Pre-drying | Pre-fry | Removes moisture so fewer pores form | Up to ~41% (lab) |
| 3 | Coatings and batters | Pre-fry | A hydrocolloid or protein film blocks oil | ~17% to 40% |
| 4 | Frying temperature and dwell control | Fry | Correct heat and shorter time limit uptake | Variable but meaningful |
| 5 | Fresh, filtered frying oil | Fry | Lower viscosity means less oil clings | Indirect quality gain |
| 6 | Post-fry de-oiling | Post-fry | Removes surface and absorbed oil before it sets | 8% to 15% or more |
| 7 | Vacuum frying | Whole process | Low temperature and low pressure change the physics | 30% to 50% |
Three things stand out from this table. First, levers one through three happen before frying, which means they require no change to your fryer at all. Second, levers stack, so a line that runs two or three of them usually beats a line that bets everything on one. Third, the numbers with a “lab” tag are research results under controlled conditions, not production guarantees, so treat them as ceilings to aim toward, not promises.
Ready to see how these levers fit a complete line? Our fried snack production line page walks through the full flow from extrusion through de-oiling and flavoring.
Pre-Frying Levers: Blanching, Drying, and Coatings
The cheapest oil reductions happen before the product touches oil. These three levers are worth considering on almost every fried snack, regardless of the fryer you already own.
Blanching and acid pre-treatment
Blanching in hot water or steam, often combined with a mild calcium chloride or acid soak, tightens the snack’s surface. In potato chips, calcium chloride blanching combined with an acetic or citric acid soak has been shown to reduce oil by up to 54% in controlled studies. The treatment encourages the pectin in the plant tissue to cross-link, creating a firmer surface that oil finds harder to penetrate.
Pre-drying
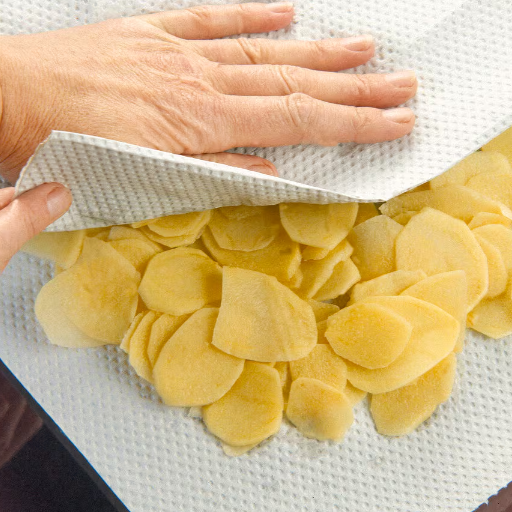
Pre-drying removes some of the product’s water before frying. Since oil is pulled in through the pores that steam leaves behind, less water means fewer and smaller pores. A 2025 study found that pre-drying potato slices with hot air, microwave, or infrared energy cut oil content by up to 41.63%, with microwave pre-drying the most efficient. On a production line, this is a belt dryer or an industrial microwave drying unit placed between the slicer and the fryer.
Coatings and batters
A thin edible coating acts as a physical barrier between the snack and the oil. Hydrocolloids such as xanthan gum, carboxymethyl cellulose, and sodium alginate, plus proteins like caseinate and starch-based blends, are the workhorses here. Xanthan gum cut oil uptake in fried fish snacks by roughly 40% in one study, and an optimized caseinate coating reached 17.69% oil in banana chips in another. Coatings do double duty: they cut oil and give a branded snack a point of differentiation.
These three levers sit in the part of the line that most snack producers already own. If you have a slicer, a blancher, a dryer, and a seasoning or coating drum, you have most of what you need. The missing piece is usually the process discipline to run them in the right order and at the right settings.
Frying-Phase Levers: Temperature, Time, and Oil Quality
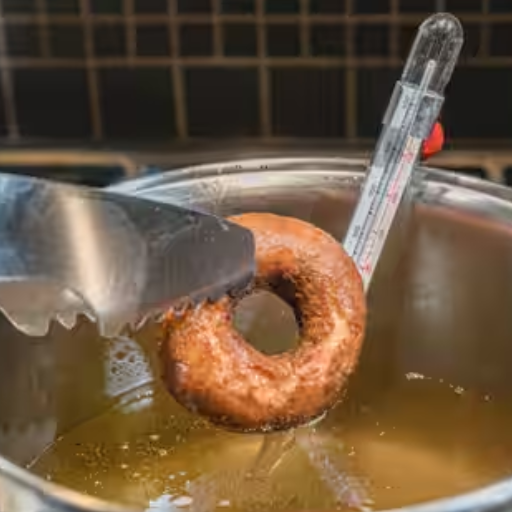
Inside the fryer, two controls move the needle on oil absorption: how hot the oil is and how long the product stays in it.
Frying at the correct, stable temperature matters because oil uptake is a surface phenomenon driven by the moisture leaving the product. When the oil is too cool, the product sits longer, absorbs more heat, and takes up more oil. When the temperature swings, the pores form unevenly and the surface absorbs inconsistently. Multi-zone thermal control that holds oil within about one to three degrees Celsius is the difference between a tight, low-oil surface and a spongy, greasy one.
Dwell time is the second control. Every extra second in the fryer after the product reaches its target texture is a second the surface spends absorbing oil. Conveyor-speed control on a continuous fryer lets you shorten dwell without undercooking the core. The catch is that dwell and temperature trade against each other, so you need accurate control of both to land on the low-oil sweet spot for your specific product.
Oil quality is the quiet third lever. As frying oil degrades, it becomes more viscous, and viscous oil clings to the surface and resists draining. Keeping oil fresh with continuous filtration, which also protects flavor and extends oil life, has a direct knock-on effect on how much oil the finished snack carries. We cover oil life in depth in our frying oil filtration guide.
Post-Frying De-Oiling: The Most Underused Lever
Here is the lever that separates lower-oil snacks from greasy ones, and it is the one most producers under-invest in.
There are two kinds of oil on a fried snack: surface oil that sits on the outside and absorbed oil that has moved into the pores. They need different removal tools. Vibration and air knives knock off surface oil quickly and cheaply. Centrifugal de-oiling spins the product to draw absorbed oil back out of the pores. Used immediately after the fryer, before the snack cools and locks the oil in, these steps reduce net fat absorption by 8% to 15% or more according to process engineering sources.
Timing is everything. The vacuum inrush that pulls oil into the pores happens as the snack cools. If you de-oil while the snack is still hot, you catch the oil before it sets. If you wait until after cooling, you are fighting physics you could have avoided.
Consider a battered snack producer making coated protein bites. Their first line had a simple drainage conveyor after the fryer, and the product tested greasy. They added a short vibration stage plus an air knife right at the fryer exit, and the finished fat content dropped by more than 10% with no change to the recipe or the fryer. The lesson: the seconds after the fryer are where oil is won or lost, and this is why de-oiling should be a designed step, not an afterthought.
Vacuum Frying: The Structural Low-Oil Solution
When a product needs the lowest possible oil, vacuum frying is the structural answer rather than a bolt-on fix.
Vacuum frying runs at 80°C to 120°C under reduced pressure, typically around -0.092 to -0.098 megapascals. At these conditions the product fries at a much lower temperature, which changes how moisture leaves and how oil enters. The result is a 30% to 50% oil reduction versus conventional frying, along with better color and higher nutrient retention. A conventional line often lands at 35% to 45% final oil, while a vacuum line can reach 15% to 25%, and some fruit and vegetable chips hit the single digits.
The trade-off is throughput and cost. Vacuum frying is slower and more capital-intensive than atmospheric frying, so it earns its place where the low-oil positioning justifies the premium. That is typically fruit and vegetable chips, premium root chips, and clean-label products sold at a higher price point. For a high-volume potato chip or a pelleted snack sold on price, conventional frying plus aggressive pre-treatment and de-oiling is usually the better economic choice.
Here is where the decision gets real. Sofia founded a premium fruit and vegetable chip brand and needed a “50% less oil” claim to win a national retail listing. She moved her banana and taro chips to an 80°C to 120°C vacuum fryer and hit the claim while locking in the golden color her buyers wanted. But she did not stop at the fryer. She kept pre-drying upstream and a gentle de-oiling stage downstream, because even a vacuum fryer leaves surface oil that a drainage step will remove. The fryer was one lever in her system, not the whole system. For the full technology comparison, see our vacuum frying machine guide.
Building a Low-Oil Fried Snack Production Line
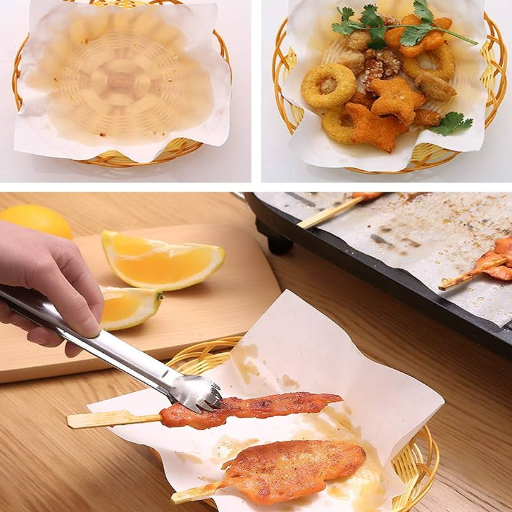
Lower oil is not something you bolt onto an existing line. It is a property you design into the line.
The most effective low-oil lines treat oil reduction as a sequence: pre-treat to shrink and seal the surface, fry at precise temperature and dwell to limit uptake, de-oil immediately to strip surface and absorbed oil, then flavor and package. Each stage depends on the one before it. Skip the pre-drying and the de-oiling has more work to do. Skip the de-oiling and the best fryer still hands off a greasy snack.
The payoff is commercial, not just technical. A lower-oil snack supports a reduced-fat or clean-label claim, appeals to a health-conscious buyer, and costs less per unit because you are spending less on oil that ends up in the product rather than the package. For snack brands competing on shelves where “less fat” and “no artificial” are the fastest-growing claims, this is a margin story as much as a marketing story.
Talk to a Loyal engineer about whether vacuum or conventional frying fits your product, volume, and price point. We build the complete pre-fry, fry, de-oil, and flavor line, so the recommendation is honest rather than inventory-driven.
FAQ: Reducing Oil Absorption in Fried Snacks
Why do fried snacks absorb oil?
Fried snacks absorb oil because moisture inside the food turns to steam and leaves pores behind, then a cooling vacuum effect pulls surface oil into those pores. Most of the oil stays near the surface, so surface management matters most.
How do you reduce oil absorption in fried snacks?
Reduce oil absorption by pre-treating the product (blanching, pre-drying, or coating), controlling frying temperature and dwell time, keeping the oil fresh and filtered, de-oiling immediately after frying, and using vacuum frying for the lowest-oil products.
Does vacuum frying reduce oil absorption?
Yes. Vacuum frying at 80°C to 120°C under reduced pressure cuts oil by 30% to 50% versus conventional frying by changing how moisture leaves and oil enters the product.
Does blanching reduce oil absorption in frying?
Yes. Blanching, especially combined with a calcium chloride or mild acid treatment, tightens the snack’s surface and can reduce oil by up to 54% in controlled potato chip studies.
How do you remove oil from fried snacks after frying?
Remove oil immediately after frying using vibration, air knives, or centrifugal de-oiling. Vibration and air remove surface oil, while centrifugal de-oiling draws absorbed oil back out of the pores before the snack cools.
What temperature reduces oil absorption?
The correct, stable frying temperature for your product reduces oil absorption because it shortens dwell time and keeps pores forming evenly. Multi-zone control holding within one to three degrees Celsius makes the biggest difference.
Conclusion
Reducing oil absorption in fried snacks is a system, not a single fix. The seven levers sit across three stages: pre-fry treatments like blanching, pre-drying, and coatings; fry-phase control of temperature, dwell, and oil quality; and post-fry de-oiling that strips surface oil before it sets. Vacuum frying is the structural option for the lowest-oil products, but it works best as one part of a designed line, not a replacement for the rest.
Start by measuring your current oil content and identifying which stage is costing you the most. Then stack two or three levers, beginning with the cheap ones upstream and downstream of the fryer before you commit to new frying technology.
If you are ready to design a lower-oil snack around your product and your price point, contact our engineering team for a line-design consultation. We will map the pre-treat, fry, de-oil, and flavor stages to your target oil content and throughput.