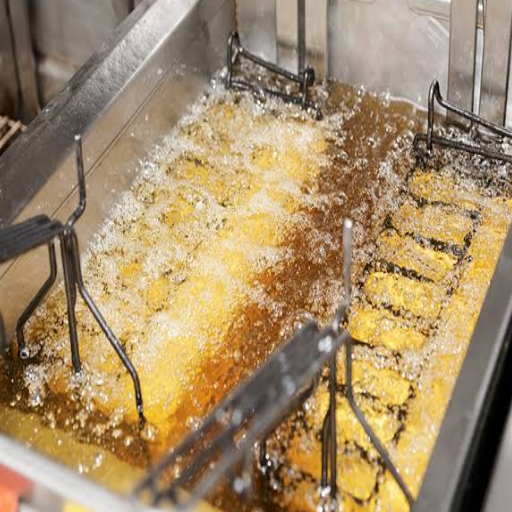
How to Choose a Fryer: A 6-Step Guide for Snack Production
To choose a fryer, define your product, target texture, and daily output first. Then select the heating system, size the machine by batch weight and oil volume, confirm food-grade materials and temperature control, and validate the supplier with a pilot trial before you buy.
Here’s the problem most snack producers run into: they inherit kitchen-tier advice, or whatever a single vendor happens to sell, and end up with a fryer that’s either too big, too small, or built for the wrong product entirely.
What if the fryer decision you’re treating as a simple equipment purchase is actually a product-quality decision in disguise?
You already know the fryer shapes your texture, oil content, and cost per kilogram. You’re just not sure how to turn those factors into a spec sheet. This guide gives you a six-step framework to do exactly that, with real numbers you won’t find in a brochure.
Key Takeaways
- Choose the fryer around your product, output, and texture first, not the vendor’s maximum capacity.
- Below roughly 500 kg per day generally favors a batch fryer; above 300 kg per hour usually demands a continuous fryer.
- Heating system (gas, electric induction, or thermal oil) is a first-order driver of oil life and operating cost.
- Oil volume and turnover matter as much as capacity; they decide changeover cost and oil-life economics.
- Always run a pilot trial and vet the supplier before you commit to a six-figure machine.
How Do You Choose a Fryer? The 6-Step Framework at a Glance
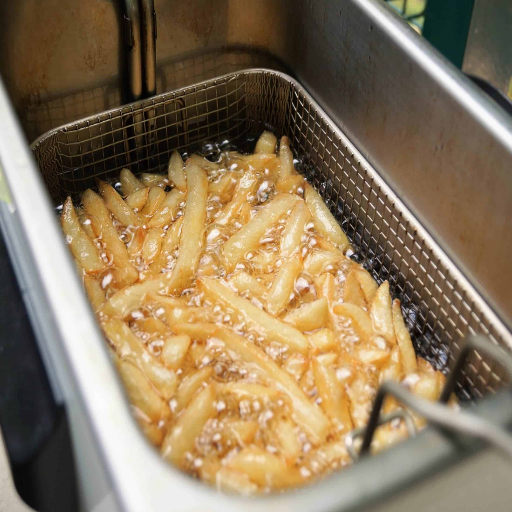
To choose a fryer for food manufacturing, work through six decisions in order: product and output, heating system, sizing and oil volume, materials and controls, oil management, and supplier validation. Each step narrows the field until one specification fits.
Why “product first, machinery second”? Because a fryer is not a commodity. A kettle chip needs a variable temperature profile and unwashed starch handling. A uniform potato chip line needs stable, continuous temperature.
A nut roaster-fryer needs quick changeover. Match the machine to the product, not to the biggest number on a spec sheet.
The six steps below expand the selection summary in our batch fryer machine guide. If you’re still deciding between technologies, start with the batch fryer vs continuous fryer comparison before you explore specification.
Step 1: Define Your Product, Output, and Target Texture
Every good fryer decision starts with three concrete answers: what you’re frying, how much of it, and what texture you need to hit.
Product type. Kettle chips, nuts, fruit and vegetable chips, battered proteins, and pelleted snacks each fry differently. Kettle chips need batch frying with a longer, variable temperature profile to get their hard-bite crunch. Uniform potato chips and extruded pellets run better on a continuous line.
Daily output. Write down a realistic number in kilograms per day and per hour, not a wish. A specialty snack producer making 200 kg of kettle chips a day has a very different fryer than a co-packer running 300 kg of puffs an hour.
Texture and oil content. Hard-bite kettle chips hold around 30% oil by weight and fry for 7 to 9 minutes. Traditional continuous chips run 34% to 38% oil and fry in 2 to 3 minutes, per frying-method research on kettle-style chips. Decide which result you’re selling, because the fryer type follows from it.
Related: Not sure whether batch or continuous fits your product? Read our full batch fryer vs continuous fryer comparison for the decision thresholds.
Step 2: Choose the Right Heating System
Heating is the most underrated fryer decision. It quietly drives oil life, temperature uniformity, and your monthly energy bill.
Gas or direct-fire delivers fast heat-up and high output, which is why it’s the standard for kettle chips and larger batch fryers. The trade-off is that direct flame against the kettle can stress oil and demands good agitation.
Electric induction heats through the vessel wall without a flame, giving cleaner temperature control and longer oil life. It suits smaller and mid-size lines where energy efficiency and precise control matter more than raw throughput.
Thermal oil circulates heated oil through a heat exchanger, providing gentle, uniform heat that’s ideal for delicate products and for keeping oil stable over long runs.
Which one you pick depends on your capacity band, your energy costs, and how sensitive your product is to temperature swings. Note that a continuous universal fryer uses roughly half the energy of a comparable batch fryer, according to Heat and Control’s fryer technology data. A deep comparison of heating types lives in our guide to gas vs electric induction vs thermal oil heating.
Try this: Want a heating recommendation matched to your product and output? Request a consultation and our engineers will map the options to your line.
Step 3: Size the Fryer by Batch Weight and Oil Volume
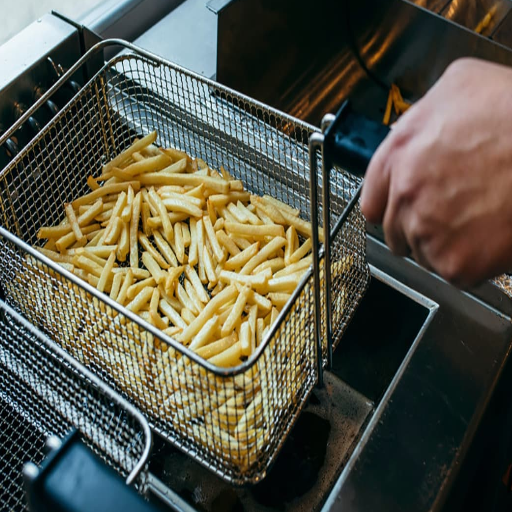
Most buyers size a fryer by capacity alone and get it wrong. Three numbers matter together: batch weight, oil volume, and output.
Batch weight is how much product the basket or kettle holds per cycle. It sets your batch time and your changeover rhythm.
Oil volume is the hidden half of sizing. More oil means more stable temperature during a batch, but it also means a bigger, costlier oil inventory to maintain and replace. A fryer with the right oil volume holds temperature through the temperature-drop curve that batch frying creates.
Output (kg per hour) follows from batch weight and cycle time. A general rule of thumb from the field: below roughly 500 kg per day favors batch, while above 300 kg per hour effectively mandates continuous. For reference, Heat and Control’s Mastermatic batch fryers run 150–350 lb/h for kettle chips, per PotatoPro’s fryer design guide. Changeover runs about 15 minutes on a batch fryer versus 2 to 4 hours on a continuous line.
The table below is a starting point, not a final spec. Your product and daily output set the exact numbers.
| Product | Recommended Fryer | Typical Output | Oil Volume |
|---|---|---|---|
| Kettle chips | Batch (gas or direct-fire) | 15–225 kg/h | High, variable temperature |
| Nuts and specialty snacks | Small batch, quick changeover | 15–150 kg/h | Low to moderate |
| Fruit and vegetable chips | Batch or vacuum | 10–100 kg/h | Low (vacuum) |
| Uniform potato chips | Continuous | 90–2,900 kg/h | Continuous turnover |
| Extruded or pelleted snacks | Continuous with de-oiling | 200–1,000 kg/h | Continuous turnover |
Here’s how the sizing logic plays out in real life.
Marcus ran a Texas snack co-packer and sized his new fryer to the biggest number in the catalog, 1,000 kg per hour. His actual demand was 220 kg a day of flavored nuts across six SKUs.
The fryer’s oil volume was enormous, so every flavor changeover meant dumping and replacing thousands of liters of oil. His “future-proof” machine became a daily cost leak. A 150 kg batch fryer with modest oil volume would have paid for itself in saved oil within a year.
For price bands by capacity, see our batch fryer machine price guide rather than guessing.
Step 4: Verify Materials, Temperature Control, and Automation
Once the size is right, confirm the machine is built to feed people safely and control itself precisely.
Food-grade stainless steel. Demand SUS 304 at minimum, and SUS 316 for anything acidic or salty. This is the difference between a decade of hygienic production and early corrosion, and it’s where low-cost listings cut corners.
Multi-zone temperature control. Look for control within roughly ±1°C. The temperature-drop behavior of batch frying means your fryer has to recover fast and hold steady, or your product comes out uneven batch after batch.
PLC and HMI controls. A proper controller stores recipes, logs temperature data, and lets an operator switch products without a technician. If you’re running more than two SKUs, recipe storage pays for itself.
These are the same standards our fried snack production line is built around: multi-zone control and automatic de-oiling that keeps output consistent.
Step 5: Evaluate Oil Management and De-Oiling
Oil is the largest variable cost in fried-snack production, and it’s the step buyers skip.
Continuous filtration pulls crumbs and fines out of the oil during the run. Fines accelerate oil breakdown, so filtering them in real time extends oil life substantially and keeps free fatty acids low.
De-oiling removes surface oil from the product after frying, cutting both oil carryover and the oil content of your finished snack. Automatic de-oiling is standard on serious lines because it directly improves shelf life and the product’s nutrition label.
If your fryer plan doesn’t include a real oil-management strategy, you’re budgeting for oil replacement you don’t have to spend. Dig into the details in our guide to frying oil filtration and oil-life extension and our tips on how to reduce oil absorption in fried snacks.
Step 6: Vet the Supplier and Validate with a Pilot Trial
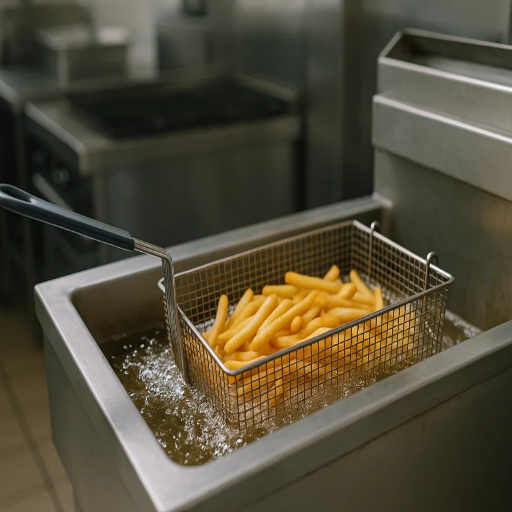
The best spec sheet in the world won’t save you from a bad supplier. Before you sign, run three checks.
Pilot trials and recipe development. A serious manufacturer will run your actual recipe on a test fryer and show you the output. This is the single highest-value step, because it converts your spec into proof.
After-sales support, spares, and warranty. Ask what happens in year two. How fast do spare parts ship? Is there remote support? A fryer is a decade-long asset, and the support contract matters as much as the machine.
Factory acceptance testing and commissioning. Confirm the machine is tested to your spec before it ships, and that commissioning is part of the deal.
Sofia, a fruit-chip founder in Portugal, skipped the pilot trial to save two weeks. Her supplier shipped a fryer tuned for potato starch, not banana slices.
The first production run scorched at the edges, and she spent four months and thousands of euros on retrofits. A two-week pilot trial would have caught it before the wire transfer cleared.
Ask these same questions of us. We run pilot trials on real recipes before we quote, because a fryer that doesn’t match your product is a problem for everyone involved.
Common Mistakes When Choosing a Fryer
Watch for these four, because they cost more than the machine itself.
- Over-sizing. A fryer that’s too big wastes oil, energy, and floor space, and every changeover becomes expensive.
- Under-sizing for growth. A fryer sized to today’s exact demand leaves no headroom, and a bottleneck fryer is harder to fix than a slightly larger one.
- Ignoring oil volume and oil-life economics. Buyers fixate on capacity and forget that oil is a recurring cost that dwarfs the sticker price over a decade.
- Choosing price over total cost of ownership. The cheapest fryer often has the worst oil efficiency and the thinnest support, which costs far more over its life.
FAQ
How do I choose the right fryer for my product?
Start with your product, target texture, and daily output. Then choose the heating system, size the machine by batch weight and oil volume, confirm food-grade materials, and run a pilot trial with the supplier.
What size batch fryer do I need?
Size by batch weight and oil volume together, not capacity alone. Below roughly 500 kg per day usually favors batch; above 300 kg per hour usually demands continuous. Your product’s cycle time and your changeover frequency set the exact number.
Gas, electric, or thermal oil fryer, which is best?
It depends on capacity and product. Gas or direct-fire suits larger kettle-chip lines, electric induction gives cleaner control and longer oil life for mid-size lines, and thermal oil suits delicate products that need gentle, uniform heat.
How much oil does a batch fryer hold?
Oil volume varies with capacity and design, from a few hundred liters on small specialty fryers to thousands of liters on industrial units. More oil stabilizes temperature during a batch but raises maintenance and replacement cost.
Should I run a pilot trial before buying a fryer?
Yes. A pilot trial runs your actual recipe and shows you the real output, texture, and oil content before you commit. Skipping it is the most expensive mistake buyers make.
Choose With Confidence
Choosing a fryer comes down to a disciplined sequence: product and output, heating system, sizing and oil volume, materials and controls, oil management, and supplier validation. Skip any one of them and the machine you buy will quietly cost you in oil, energy, or rework for years.
The good news is that a fryer is a solved problem once you follow the framework. Define what you’re making, be honest about volume, and let the product dictate the spec, not a brochure.
Ready to put it into practice? Request a consultation and our engineers will help you spec the right fryer for your snack production line, then validate your recipe with a pilot trial before you commit. The right fryer is out there. It just takes a decision made in the right order.